Docker Compose for Development Sandbox Setup

Today let us leverage the capabilities of Docker Compose to easily complete the development sandbox setup. Usually, when we join a new development team, we are handed over a long document with details of every software required, along with exacts version, links to download, and the steps to follow to configure them.
Also Read: What is Docker?
This usually takes up an entire day in cases when the requirements are huge in number and most of the time we end up asking someone to help as it never a success in one go. Using Docker can totally automate this process by exposing just a single command which does all the thing in minutes.
What is Docker Compose
Compose is a tool that allows to manage and run multiple containers at once. It's basically a yaml file which contains the instructions that are needed to run specific containers. These can be the original images on Docker Hub or any other similar repo or custom images created by your team as well.
Once these instructions are specified which are read-friendly for both machine and humans, it a matter for running a simple command docker comose up from the directory.
Creating our first Docker Compose File
Before moving on to the actual implementation for the dev sandbox setup, let us create our first docker-compose.yml file
- We can either use vim (available by default for Mac & Linux users) to create a file from terminal or we can manually create a new file and name it as docker-compose.yml
vim docker-compose.yml
- Once we have the file copy the below content in it
version: '3.4'

services:

    sqlserver:
       image: "mcr.microsoft.com/azure-sql-edge"
       container_name: sql-server-db
       ports:
          - 1433:1433
       environment:
          - SA_PASSWORD=MyPass@word
          - MSSQL_PID=Developer
          - ACCEPT_EULA='Y'
- Version (optional for Compose 1.6. 0+ and require a Docker Engine of version 1.10.0) specifies the docker-compose version
- Services tag refer to the various containers configuration that is to be built from the file
- image is the URL to pull the docker image, here we are using the azure-sql-edge for setting up SQL Server on Mac
- container_name specifies the name of the container once it is created
- ports map the container ports to the local ports so that the server can access
- environment contains other connection details like password, mssql_pid, etc which we usually specify in our connection strings.
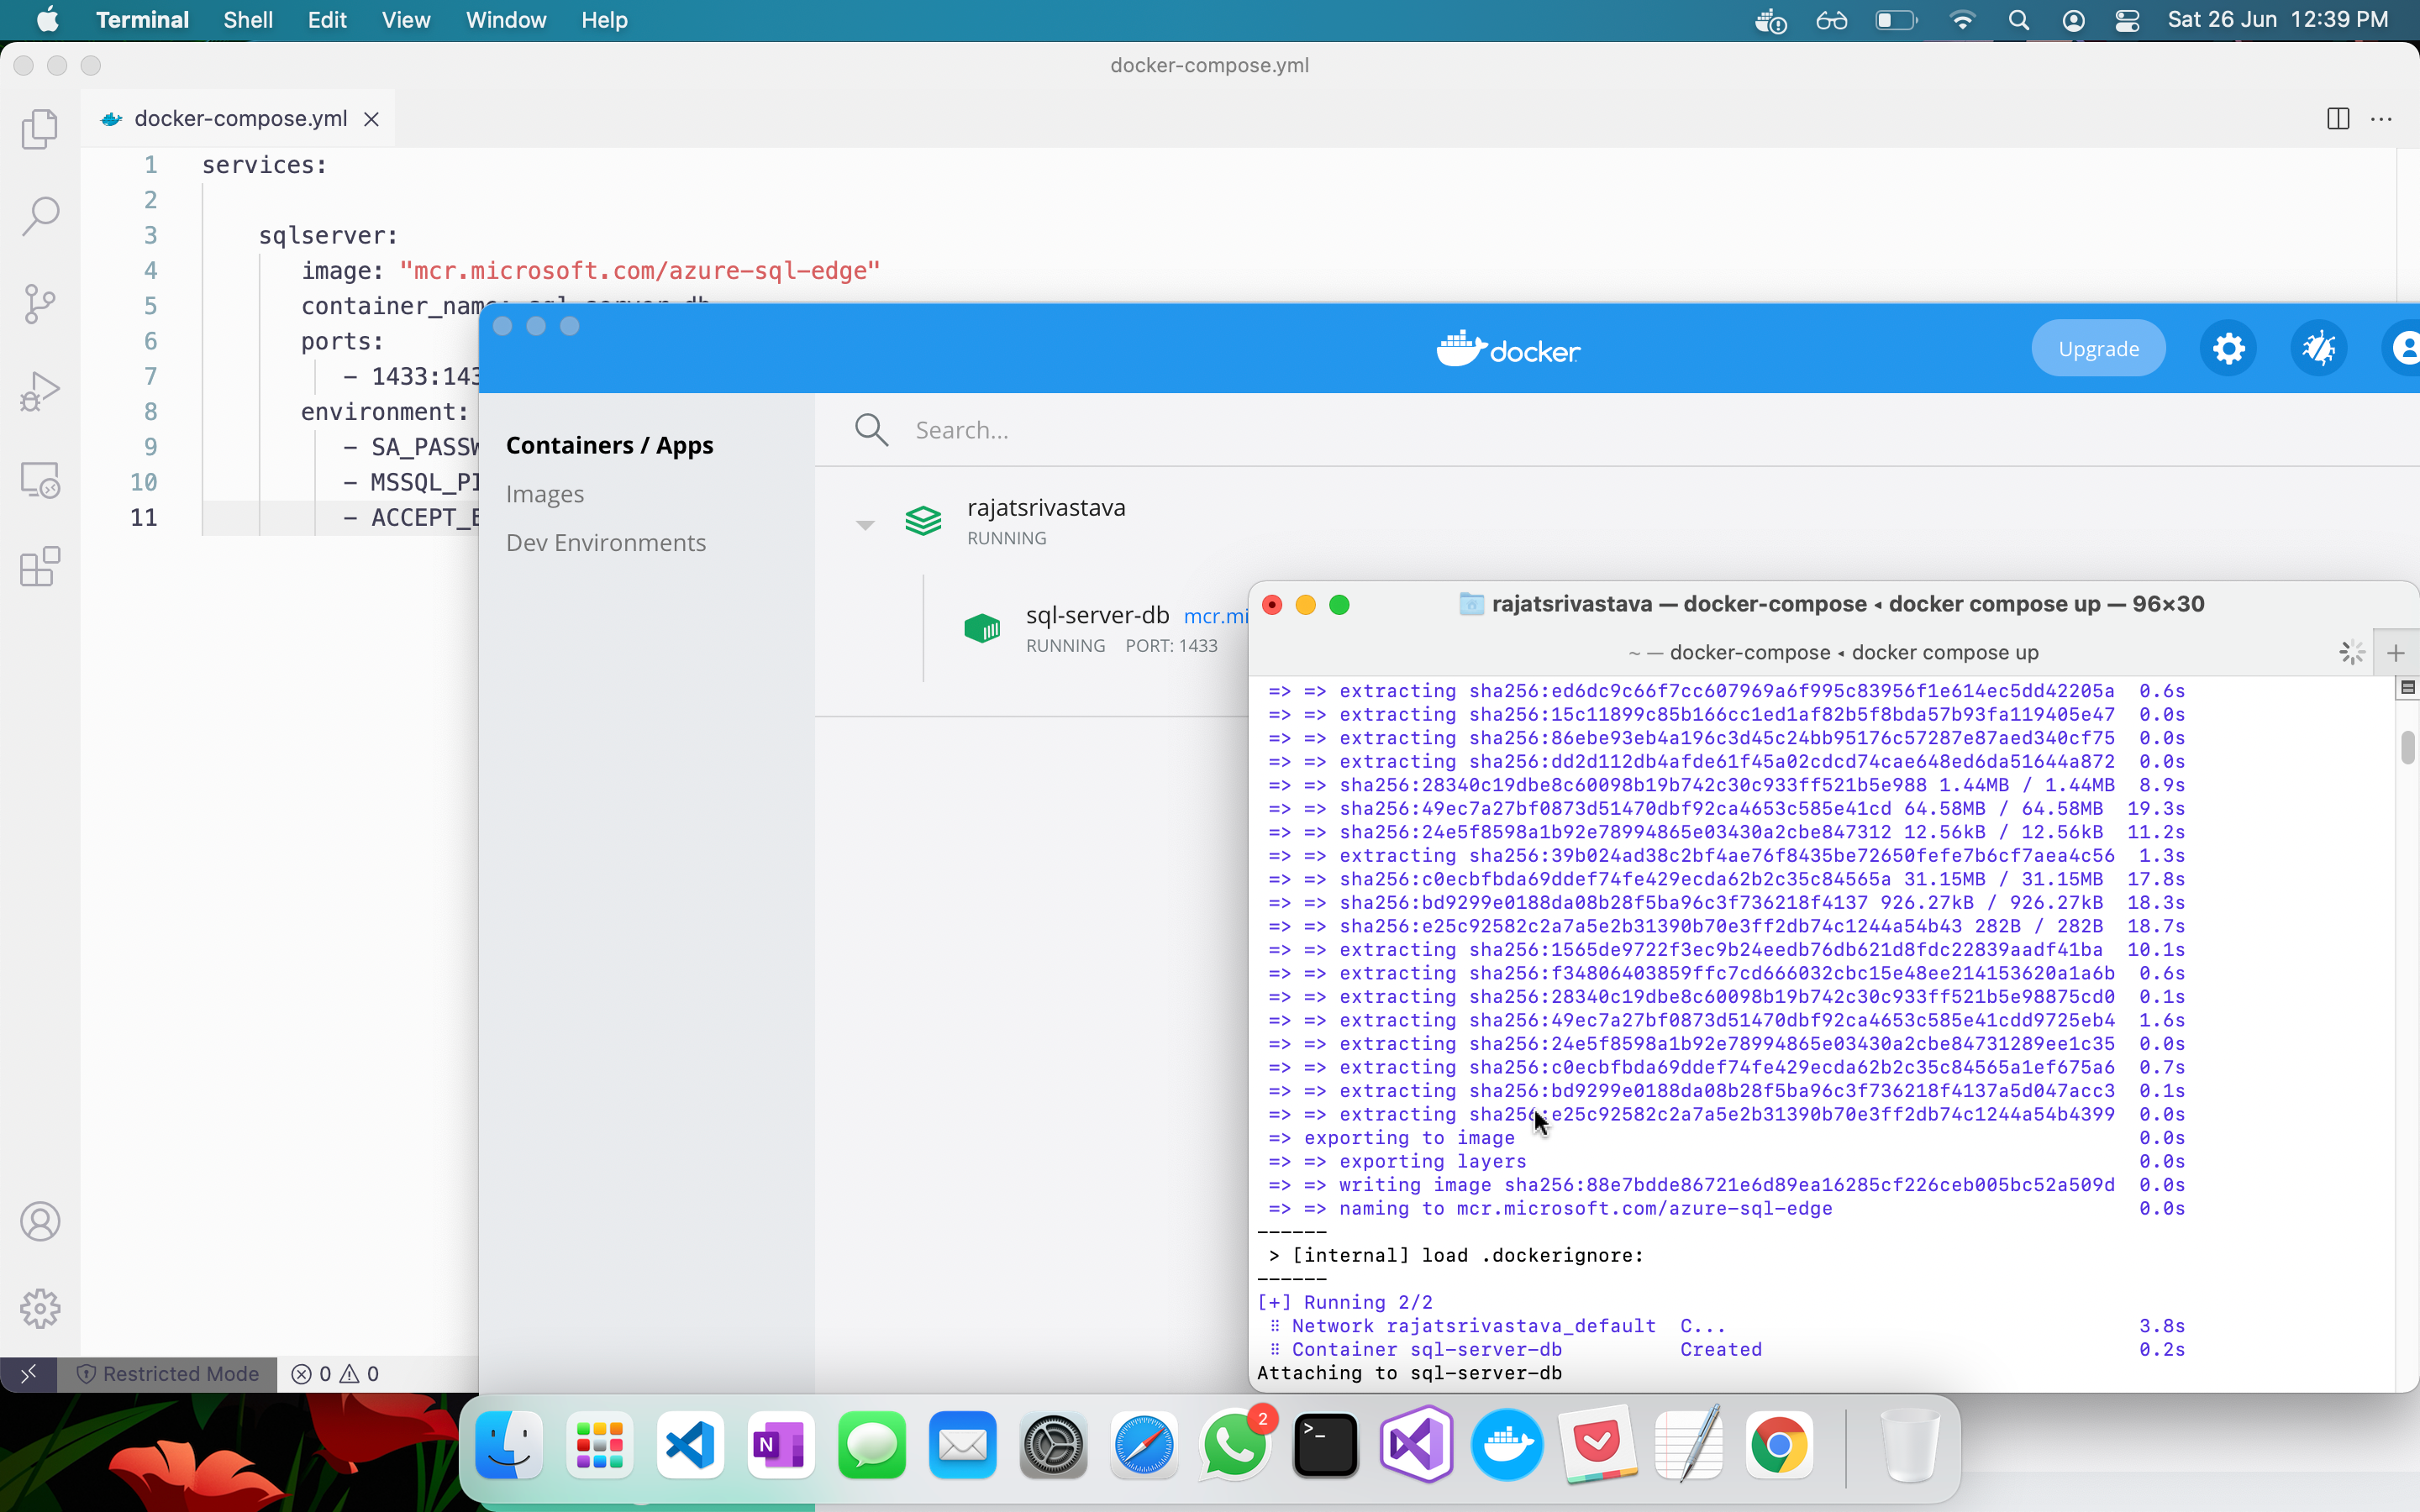
Now to run this file we can use terminal/cmd in the same directory as the file and just run docker compose up
This will start a container name sql-server-db on our machine accessible via port 1433
Volumes and Networks
Apart from the tags which we used in our first docker compose file, volumes, and networks are also very readily used. Volumes help us map host drives/folders with that inside the containers so that the data if required can be accessed easily. Meanwhile, networks are used to specify how we can implement inter container communication. You can read in detail about them @ https://docs.docker.com/compose/networking/
Dev Sandbox Setup
So hypothetically in our team to start developing we need to make sure that we have SQL Server, RabbitMQ, and MongoDB servers up and running on our machine. Let us now increment on our existing YAML file to create our development sandbox.
We already have the configuration for SQL Server so let us add the required configuration for both the other dependencies.
version: '3.4'

services:

    rabbitmq:
        image: rabbitmq:3-management-alpine
        container_name: rabbitmq
        ports:
            - 5672:5672
            - 15672:15672
        networks:
            - bridge_network

    sqlserver:
       image: "mcr.microsoft.com/azure-sql-edge"
       container_name: sql-server-db
       ports:
          - 1433:1433
       environment:
          - SA_PASSWORD=MyPass@word
          - MSSQL_PID=Developer
          - ACCEPT_EULA='Y'

    mongo:
        image: mongo
        container_name: mongo-db
        ports:
            - 27017:27017

networks:
    bridge_network:
        driver: bridge
We can get to know what version of certain applications are available as docker images by referring to the official docker hub repository. We have followed similar steps and just added the required settings for our new dependencies.
Running docker compose up on this file will start three containers and all these services will be up and running. We can add as many containers as required and it all will start with the same command.
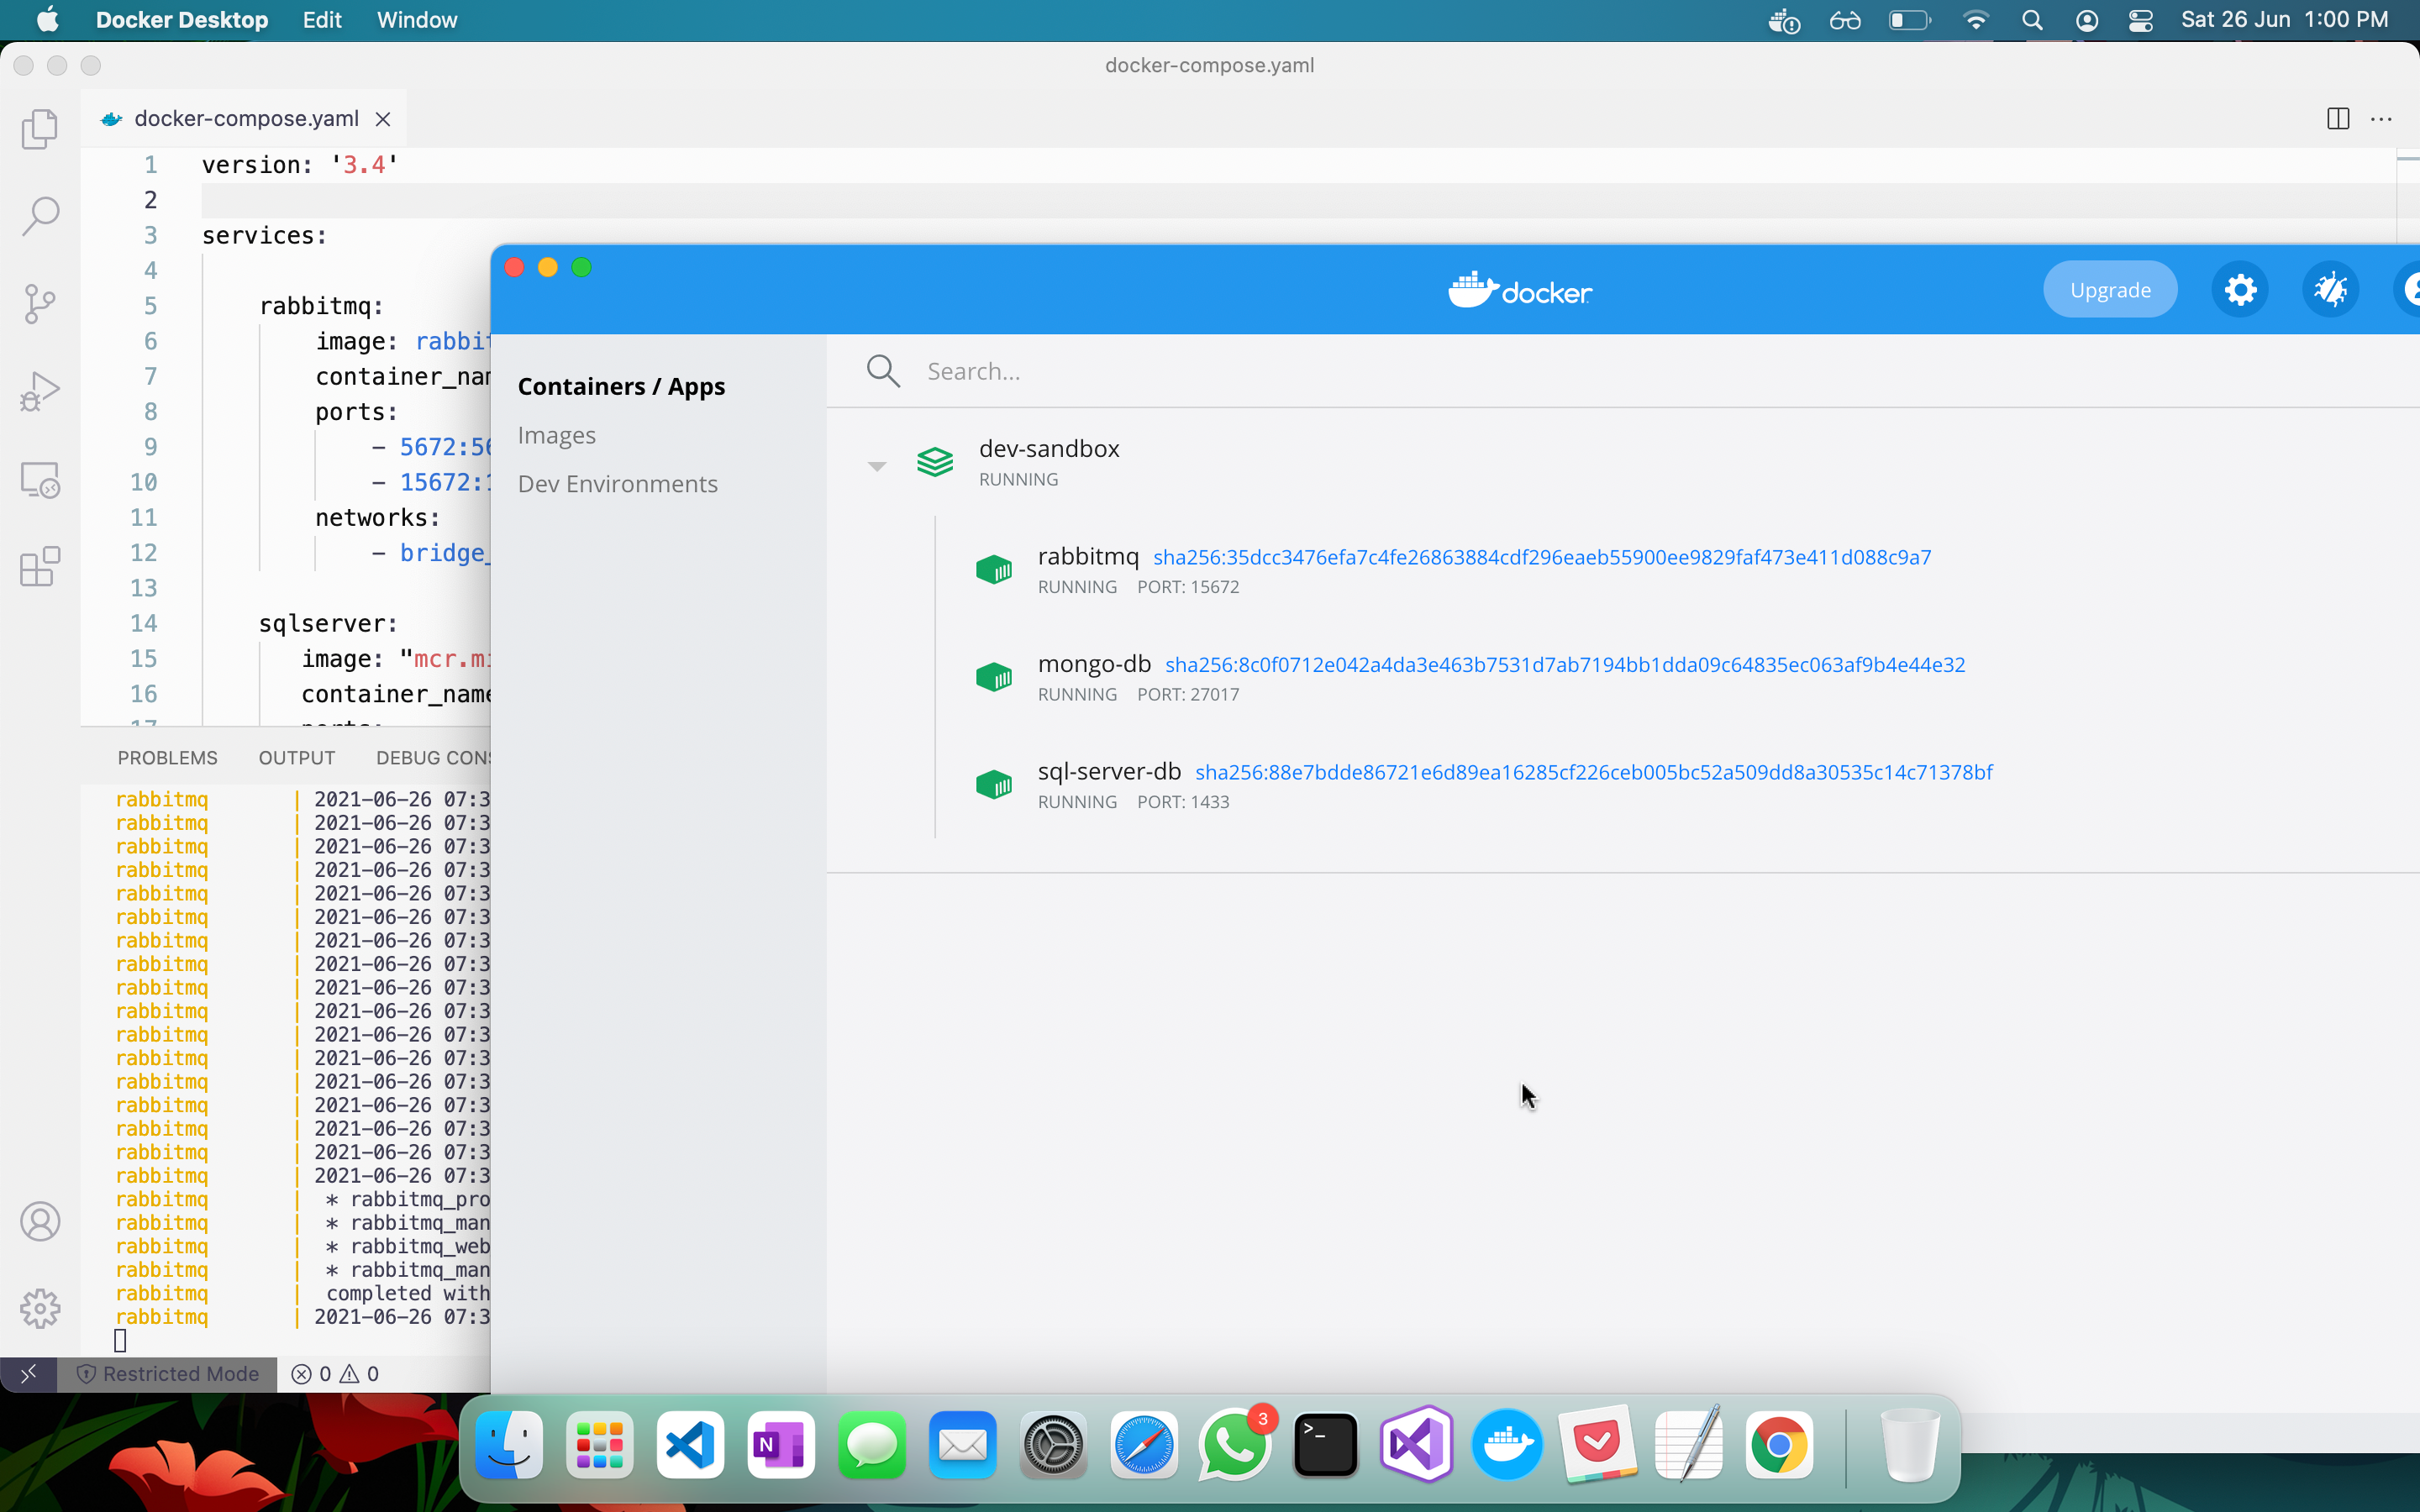
We can then individually start and stop them as per our use. Remember that stopping the container retains the data and the next time the container is started all the settings and configurations are still there but if a container is deleted or the docker compose down command is used then all the data is lost and containers will have to be created fresh.
Conclusion
We have seen today how we can leverage docker and the compose file for setting up our sandbox development environment. Docker-compose has a vast range of more uses especially in terms of running apps we develop in containerized form. You can refer to the article where we discussed how to containerize .Net core apps in order to see one of such use case.


