Setting up SQL & Entity Framework Migrations on Visual Studio for M1 Mac
Published
•4 min read
I had recently started working on .Net core based applications on my M1 MacBooks and have had a pretty smooth transitions from Windows. But the thing which I found out bit later was that Visual Studio for Mac doesn't come with a Package Manager Console.
This post covers the approach of how to setup SQL Server using Azure Data Studio & Docker followed by running on migrations to create our database and tables using code first approach.
Pre-requisite
- Docker Desktop installed and running on the system
- Visual Studio for Mac (works for both M1 and Intel based)
- Azure Data Studio which is a free application to connect to the SQL Server
- GitHub Repo for reference : https://github.com/rajat-srivas/EF_Migration_Demo_VSMac
Setting up SQL Server
- If you are on an Intel based Mac, you can use the official linux image for the SQL Server and pull it using the command
sudo docker pull mcr.microsoft.com/mssql/server:2019-latest
- For those using the M1 powered Mac, the linux version still isn't supported so we can use the Azure SQL Edge variant.
sudo docker pull sql.mcr.microsoft.com/azure-sql-edge
- Once we have the image downloaded we can run the container using the command
docker run -e "ACCEPT_EULA=1" -e "MSSQL_SA_PASSWORD=MyPass@word" -e "MSSQL_PID=Developer" -e "MSSQL_USER=SA" -p 1433:1433 -d --name=sql mcr.microsoft.com/azure-sql-edge
OR
docker run -d --name sql_server_test -e 'ACCEPT_EULA=Y' -e 'SA_PASSWORD=MyPass@word' -p 1433:1433 --name=sql microsoft/mssql-server-linux
- This will start the SQL Server on port 1433

Connect to SQL Server via GUI
- Launch the Azure Data Studio and click on add icon right next to the Servers label in the left side bar
- This open a connection model to provide the details of the server which we want to connect
- Enter the required details and click on connect
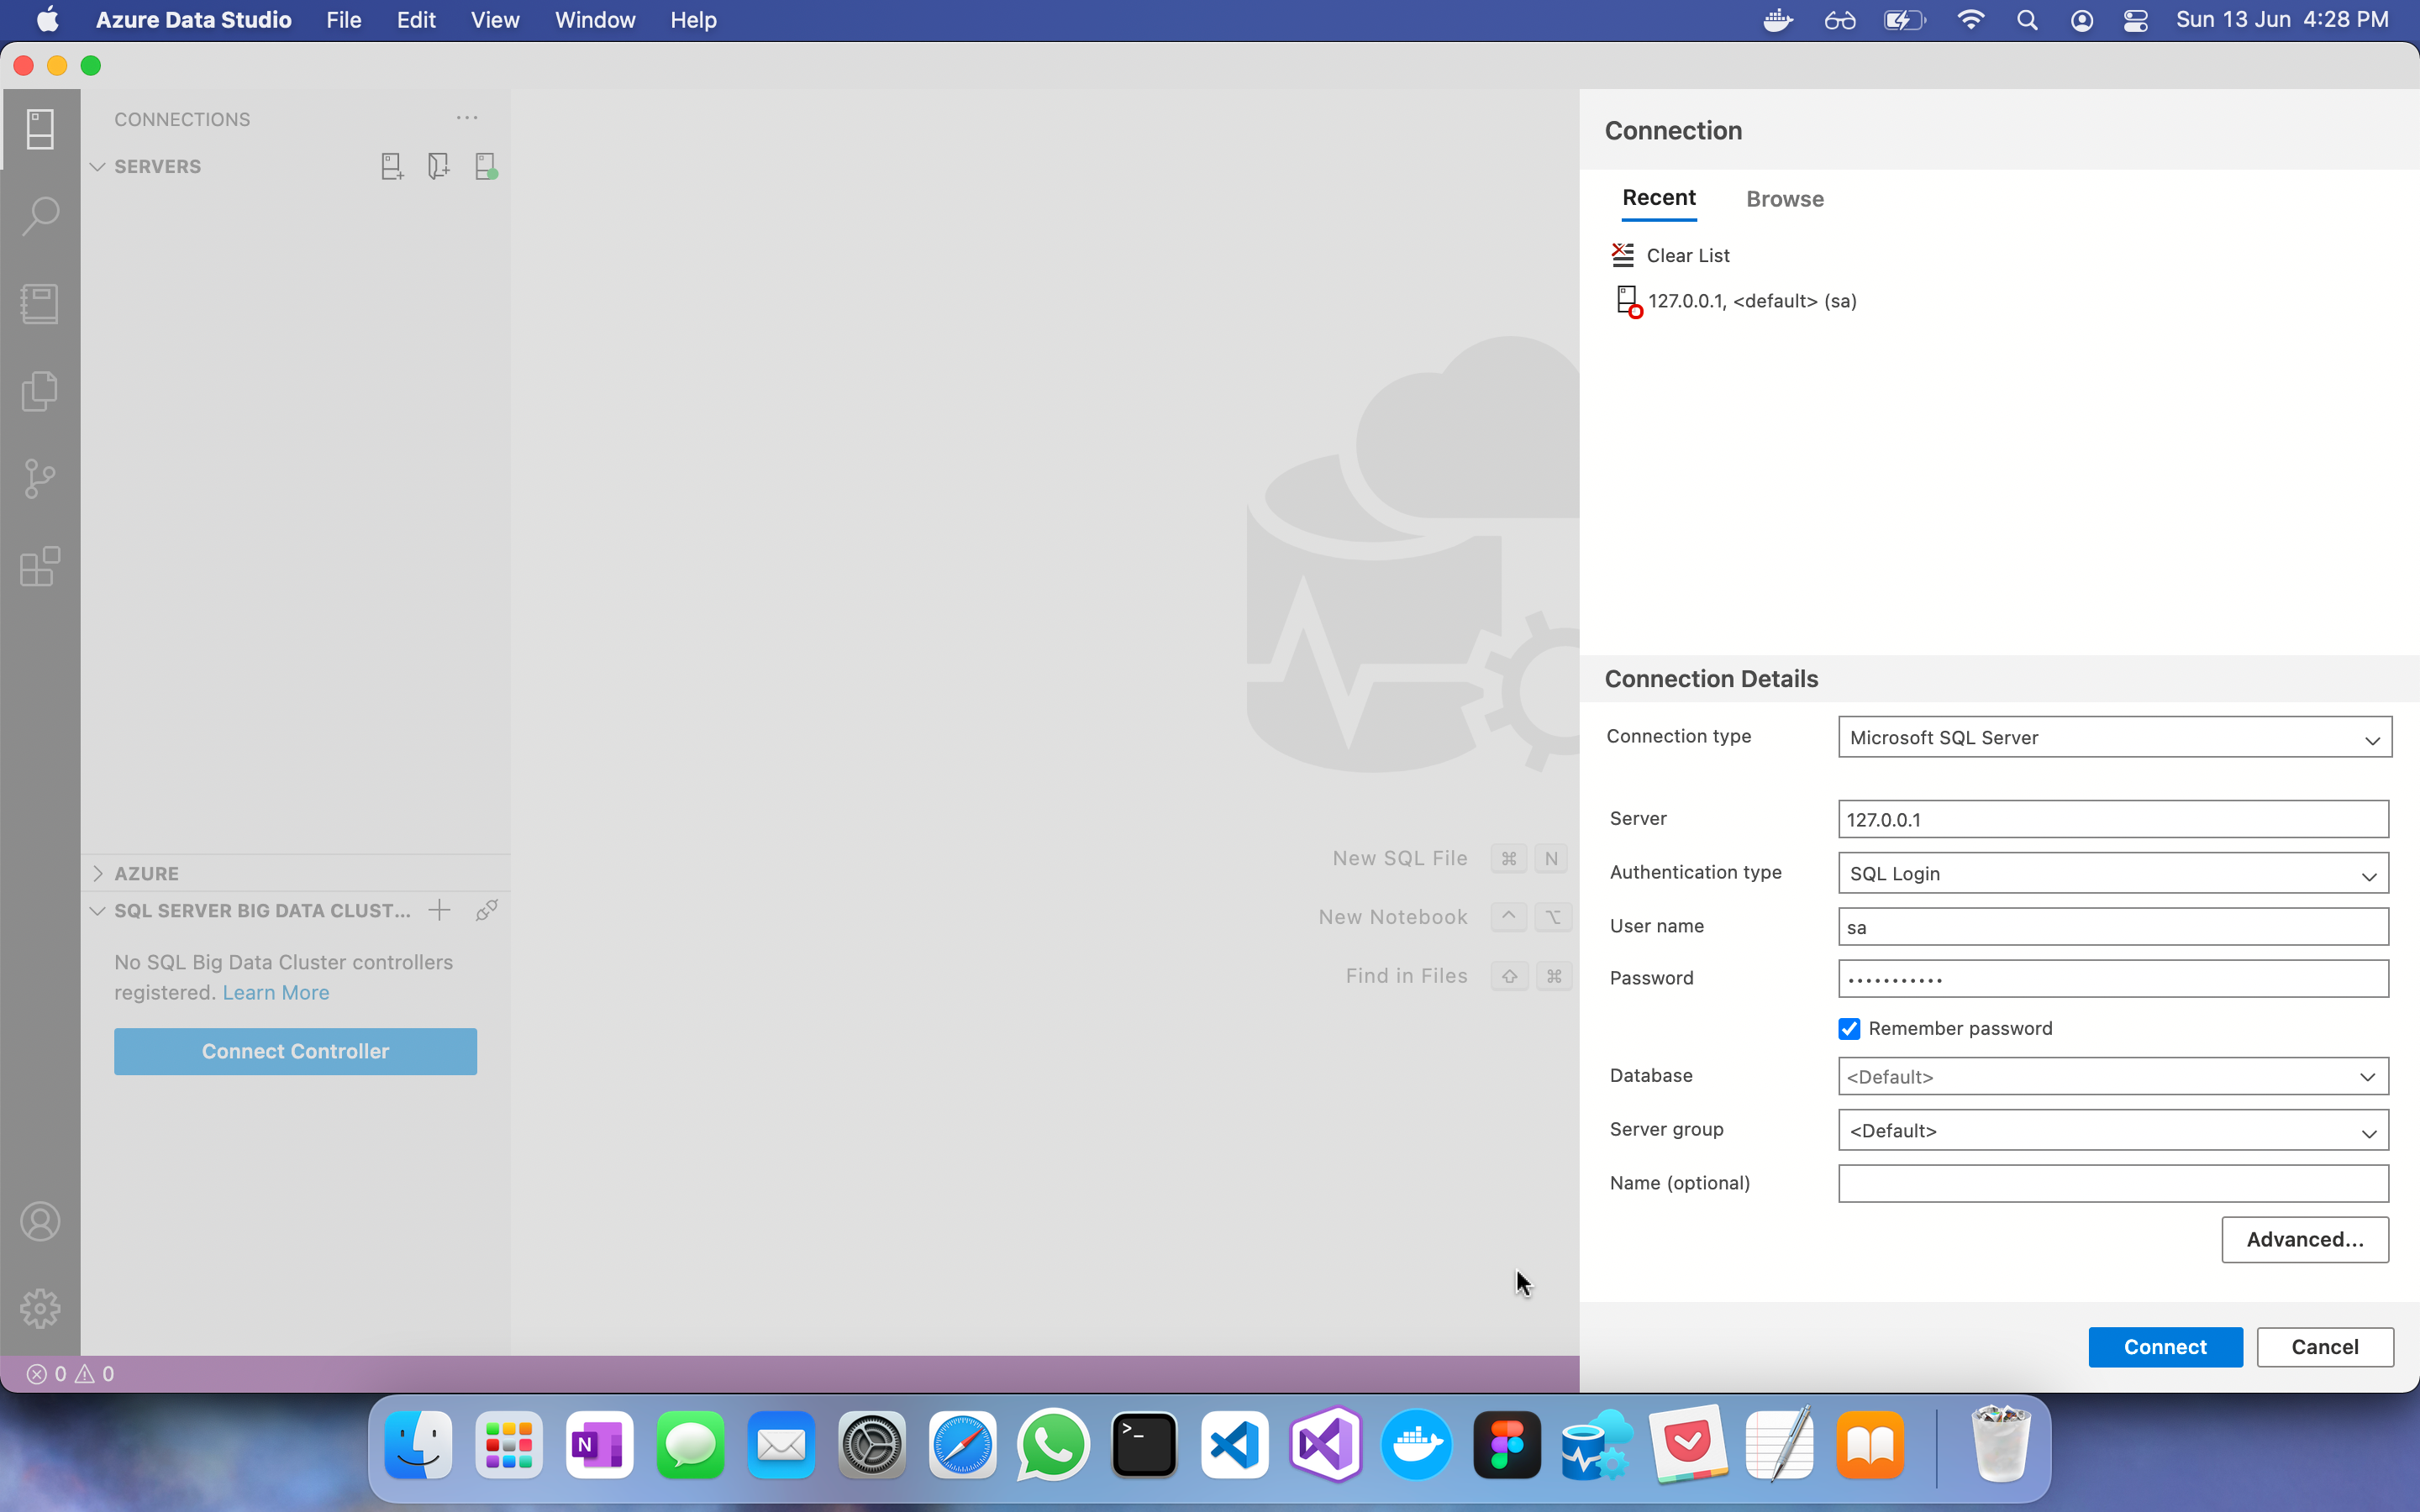
- Username here will be sa and password will be MyPass@word as specified in the docker run command
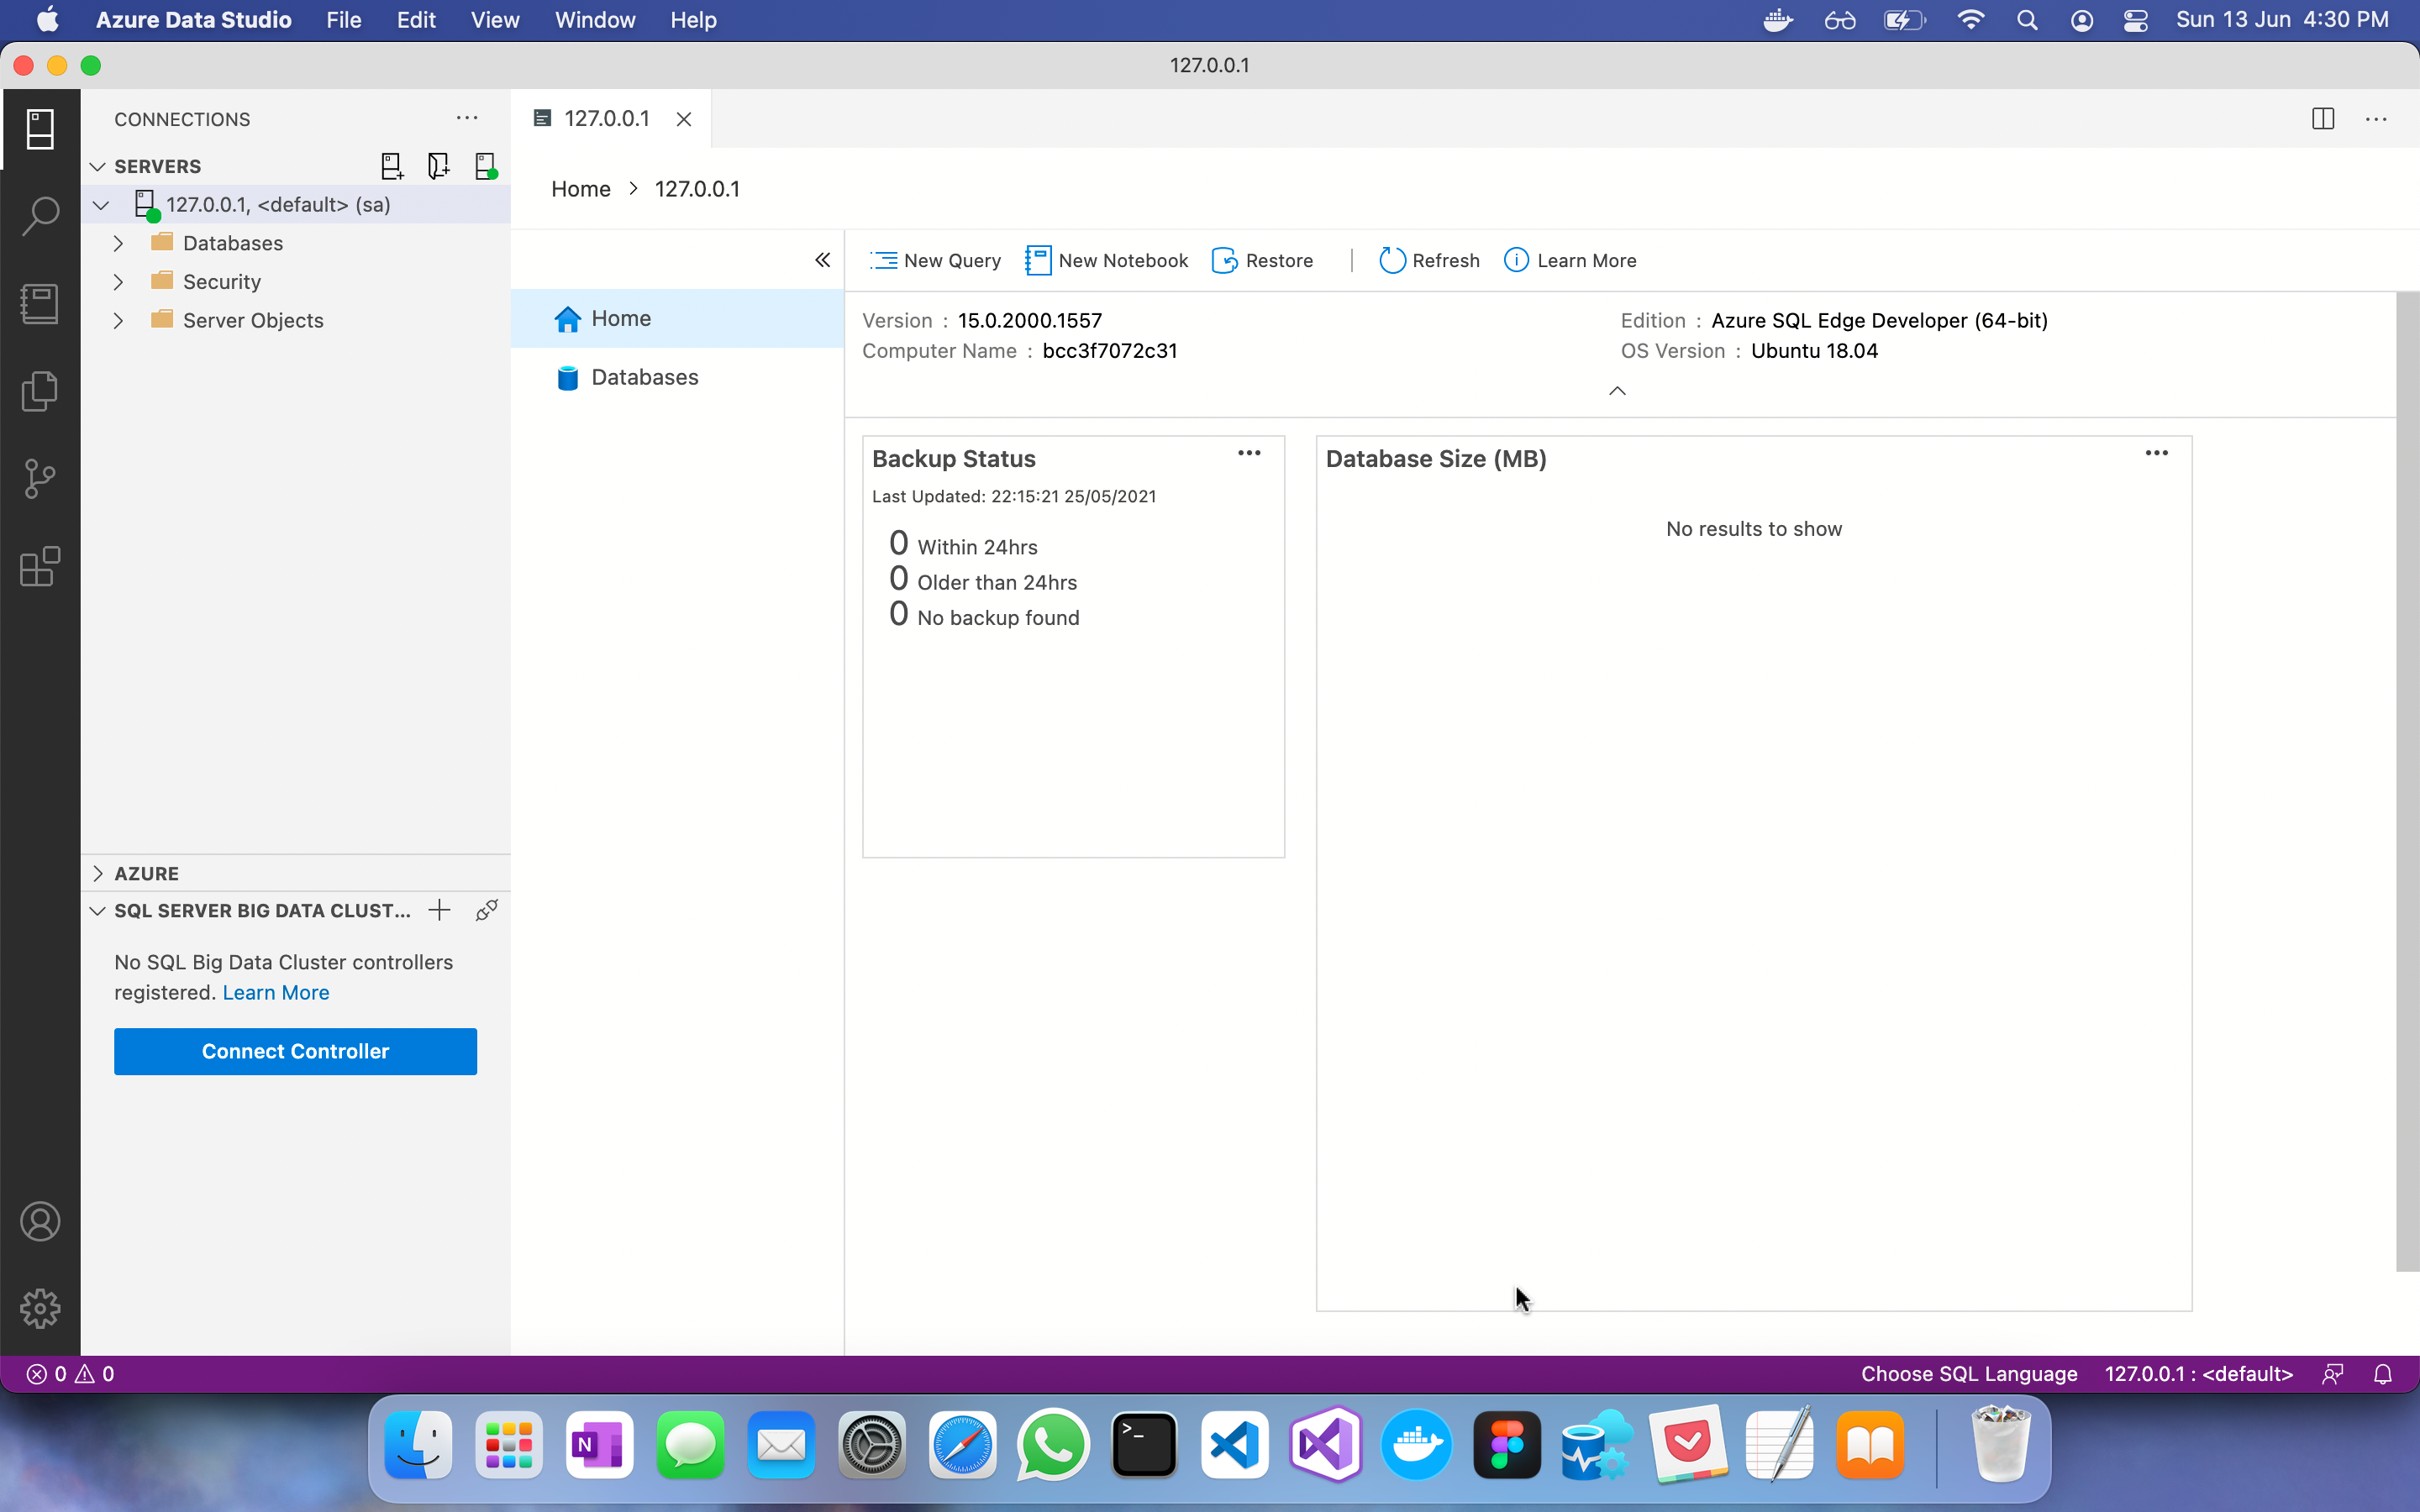
- We should now have the server connected
Setting Up Migrations on DotNet app
- Create a new .Net Core Api project and install the following Nuget packages to enable Entity Frameworks and its migrations capabilities in the project
dotnet add package Microsoft.EntityFrameworkCore.Tools --version 5.0.7
dotnet add package Microsoft.EntityFrameworkCore.SqlServer --version 5.0.7
dotnet new tool-manifest
dotnet tool install --local dotnet-ef --version 5.0.7
Configuring the Project
- Once all the dependencies are installed, lets move on to create the model & dbcontext classes
using System;
using System.ComponentModel.DataAnnotations;

namespace StackUpDemo.Model
{
    public class Status
    {
        [Key]
        public int StatusId { get; set; }

        [Required]
        public string EntityStatus { get; set; }
    }
}
using System;
using Microsoft.EntityFrameworkCore;
using StackUpDemo.Model;

namespace StackUpDemo.Context
{
    public class StackUpDemoContext: DbContext
    {
        public StackUpDemoContext(DbContextOptions<StackUpDemoContext> options)
           : base(options)
        {
        }
        public virtual DbSet<Status> StatusMaps { get; set; }

        protected override void OnModelCreating(ModelBuilder modelBuilder)
        {
            modelBuilder.Entity<Status>().HasData(
                new Status
                {
                    StatusId = 1,
                    EntityStatus = "Active"
                },
                new Status
                {
                    StatusId = 2,
                    EntityStatus = "InActive"
                },
                 new Status
                 {
                     StatusId = 3,
                     EntityStatus = "Pending"
                 }
            );
        }

    }
}
- Update the Startup file to configure entity framework with SQL Server provider and define the connection string in the appsetting.json file
services.AddDbContext<StackUpDemoContext>(opts => opts.UseSqlServer(Configuration["ConnectionString:StackUpDemo"]));
 "ConnectionString": {
    "StackUpDemo": "Server=127.0.0.1,1433;Database=StackUpDemo.EFMigrations;user id=sa;password=MyPass@word;"
  }
- We are now done with base configuration necessary to trigger migrations in our project
- To add a new Migration run the command
dotnet ef migrations add DbInitializationWithSeed
- To undo this migration run the command
dotnet ef migrations remove
- To update the database with the migration changes run the command
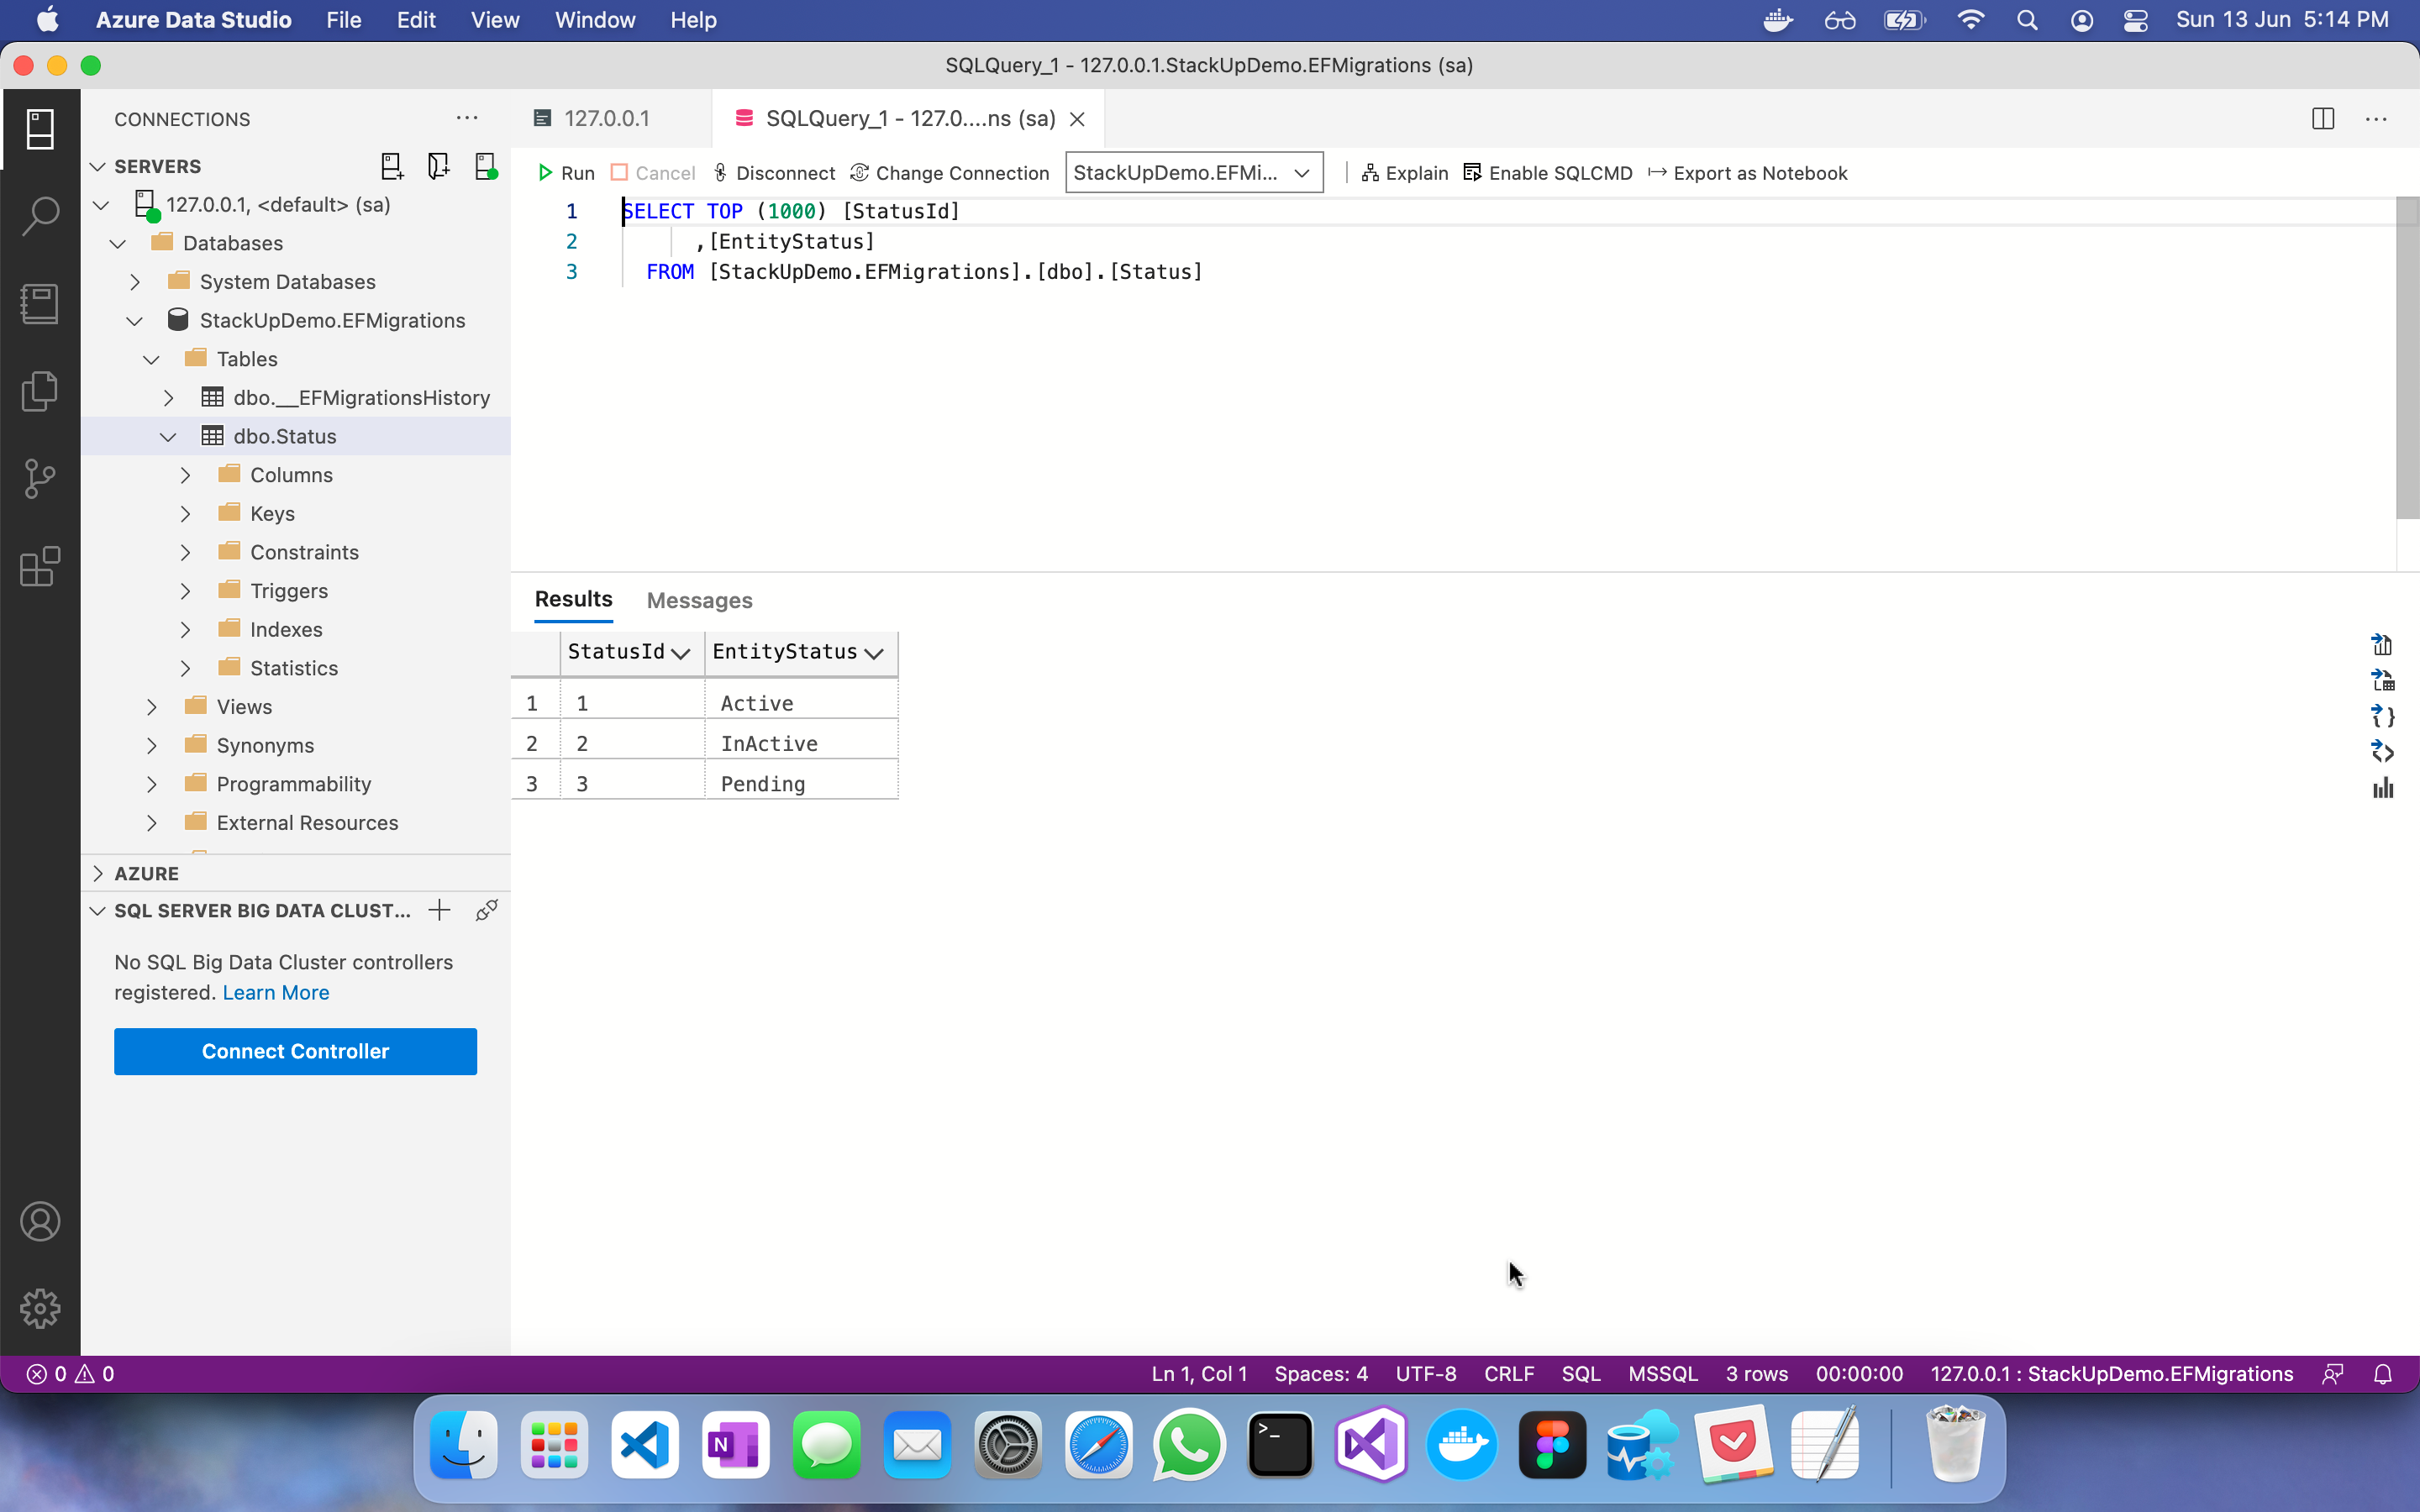
dotnet ef database update
- On execution head over to the Azure Data Studio to confirm that our steps were success
Conclusion
We have successfully used the dotnet-ef command line utility to run migrations on Visual Studio for Mac. It is just one or two steps extra as compared to the one we are used to in Package Manager Console so wont take long to adjust.
Until next time, keep learning & keep building.


