File Upload/Resize using HarperDB & NodeJs

So very recently I got to know about this new super cool database HarperDB, which provides an offering that is like the best of both worlds SQL/NoSQL. One can save data in JSON format but can easily use the normal SQL Queries to fetch them. I wanted to give it a try and hence ended up making this file upload/resize app using Node & Harper.
This article will break down the steps I followed to complete this requirement and hopefully, some of you can follow along and learn something new along the way.
Steps Involved
- Signup for the free cloud instance of HarperDB
- Setting up our first Schema and Table
- Configuring a NodeJs app to connect with HarperDB using Harperive
- Use the Multer package to upload files
- Use the Sharp package to resize/compress the uploaded files
- Perform HarperDB Insert using endpoint
- Perform HarperDB Select using the traditional SQL like queries
- Test our endpoints via Postman & a simple JS based client
Setting up HarperDB Cloud Instance
- Head over to https://studio.harperdb.io/sign-up to begin the account creation process

Enter the required details, select a subdomain for your own instance, and click on sign up for free
On the next screen, set up a password for the HarperDB account
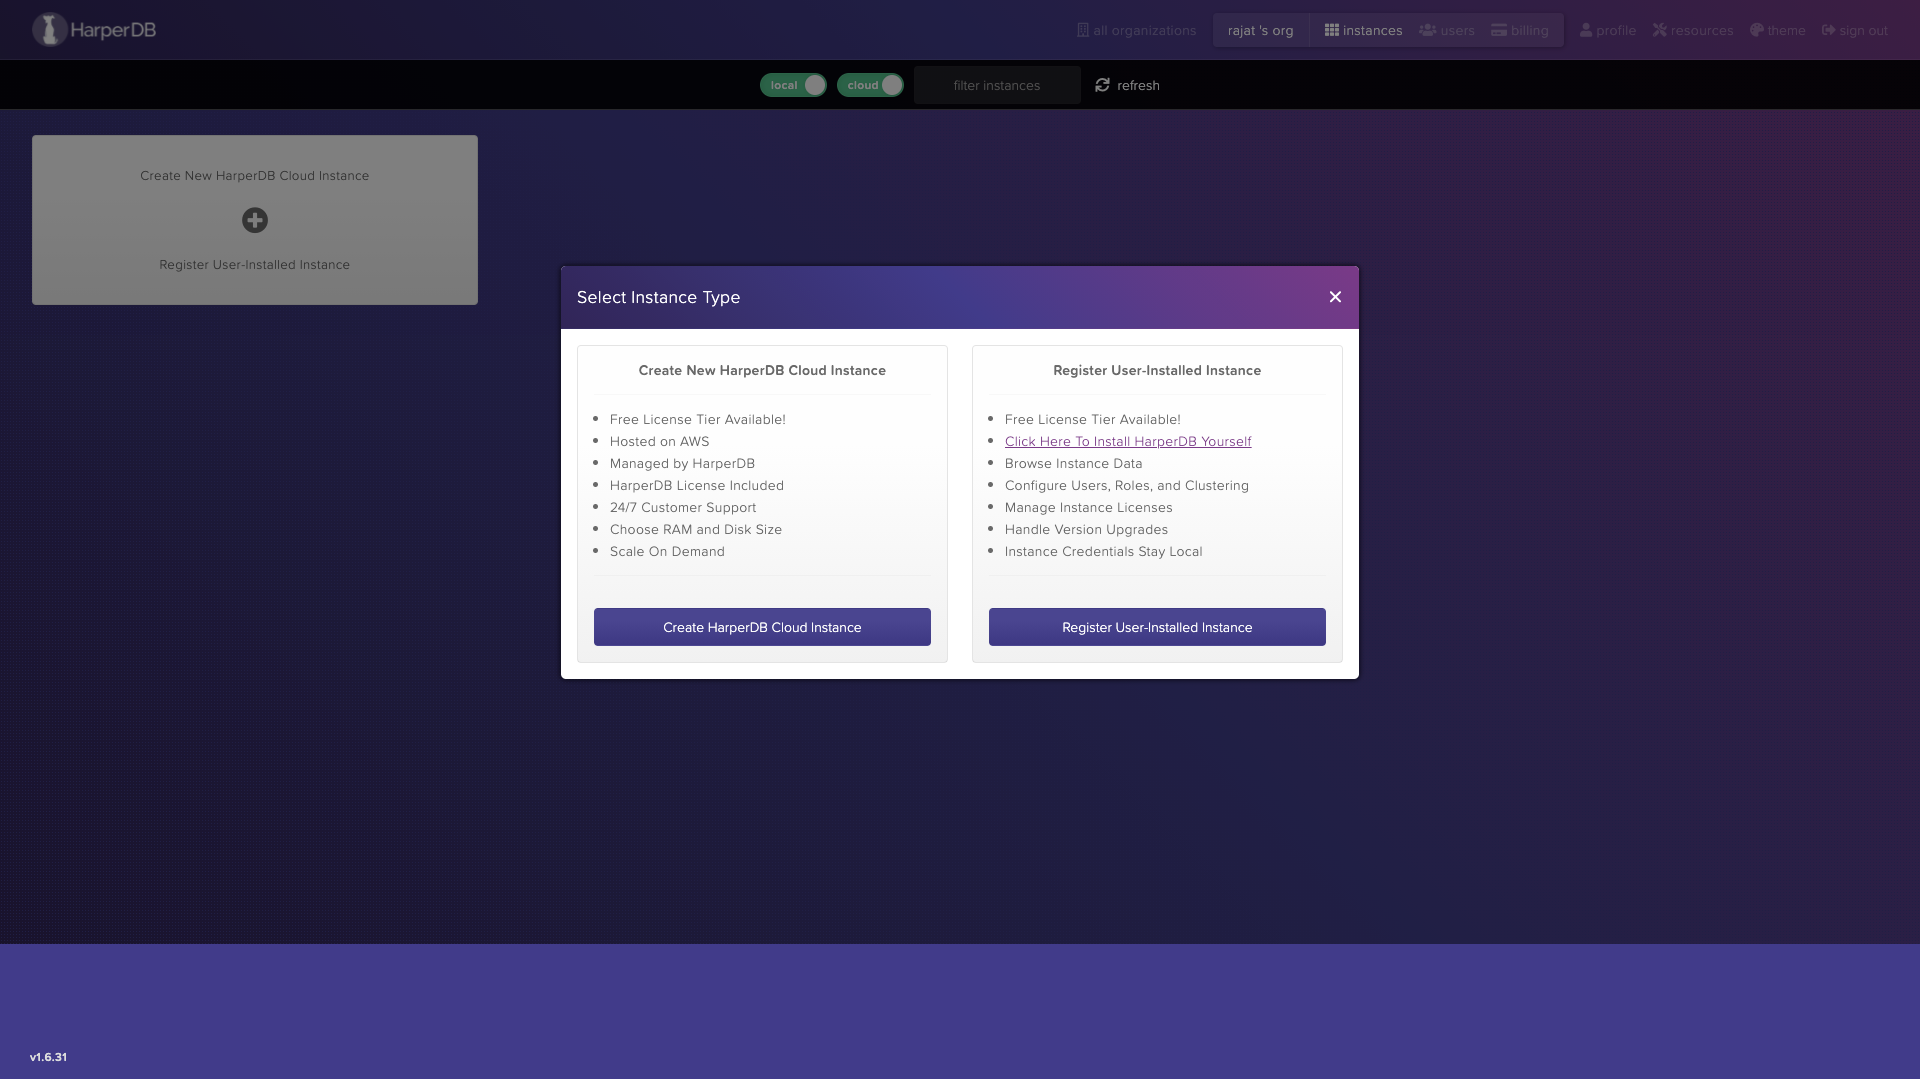
- Click on Create new HyperDB Cloud Instance

- Select the first option Create HarperDB Cloud Instance which creates a cloud server for us
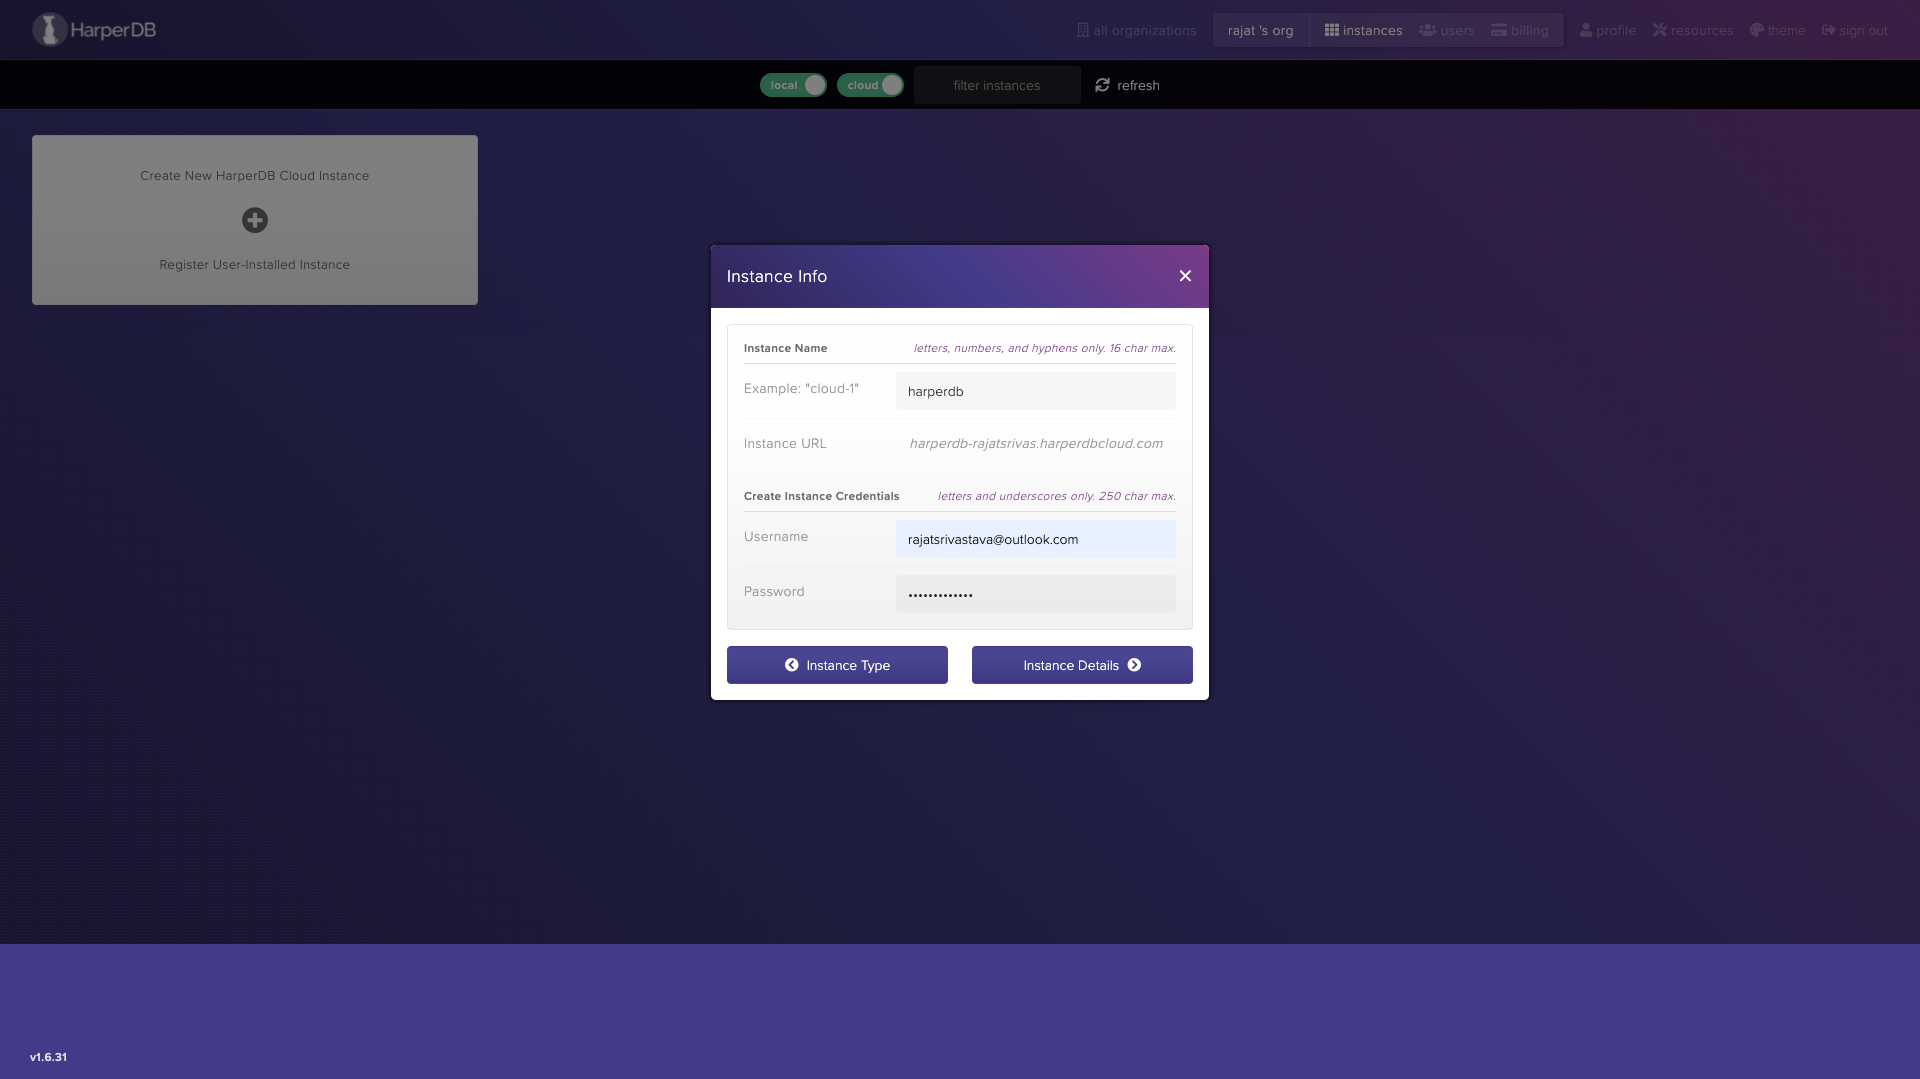
- Provide the details for the instance and create a user account
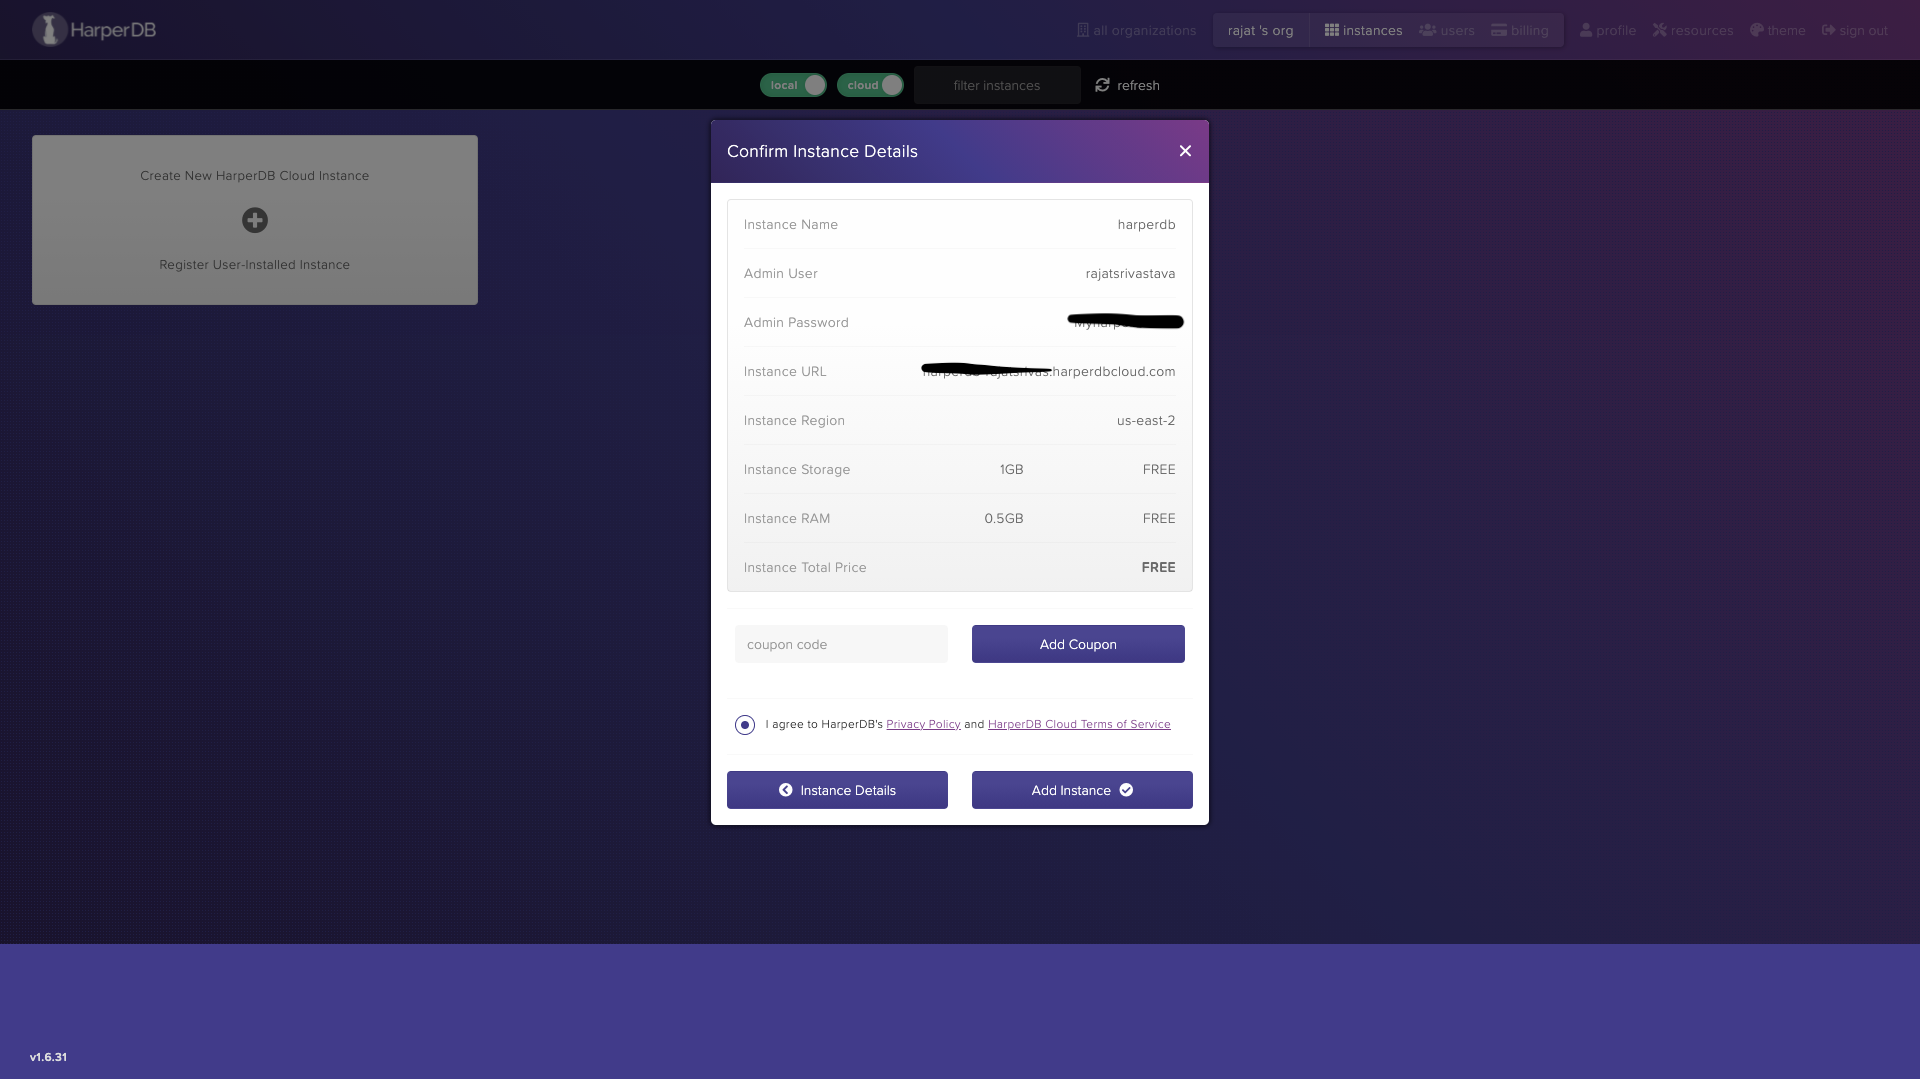
- On the next screen, by default, all the free options are selected. Leave them unchanged and click on Confirm Instance Details

- Verify the details and click on Add Instance
- Wait for some time while the instance is created and then click on it

- Next we must create a Schema and a table. We need an existing table in HarperDB to access them from our NodeJs app
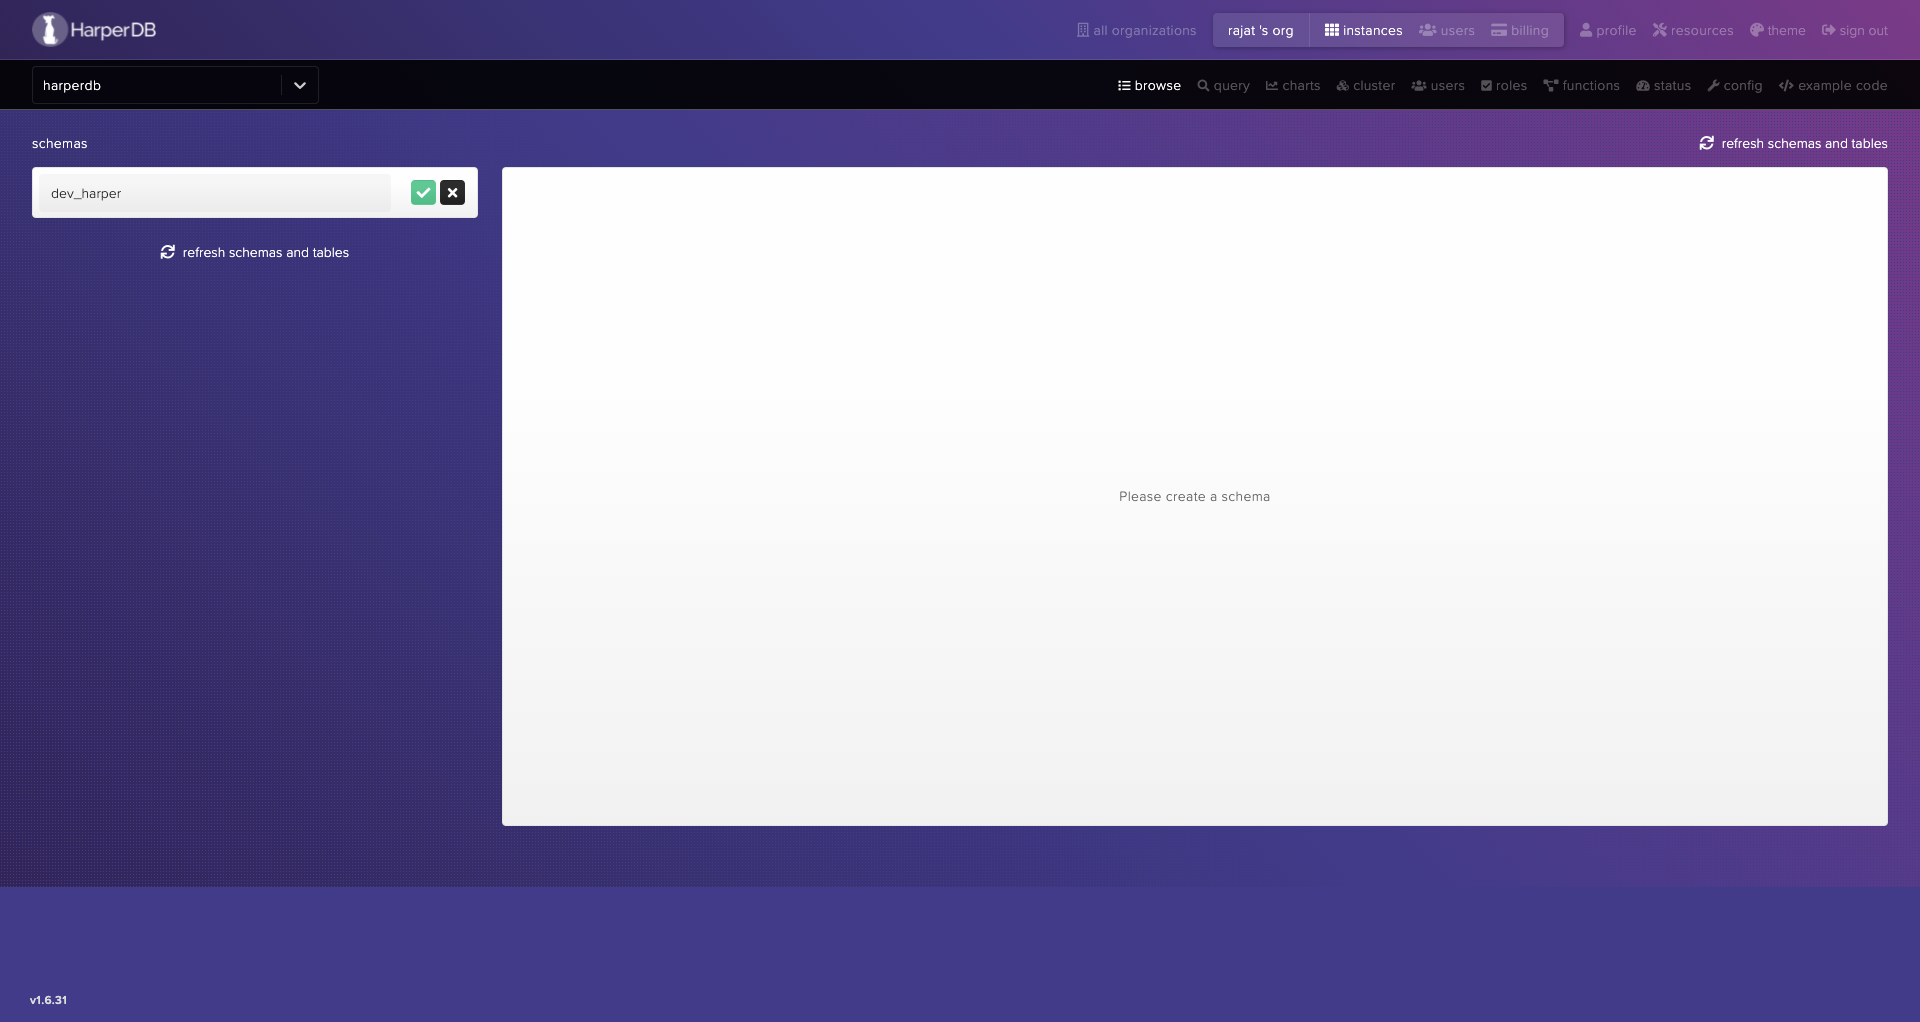
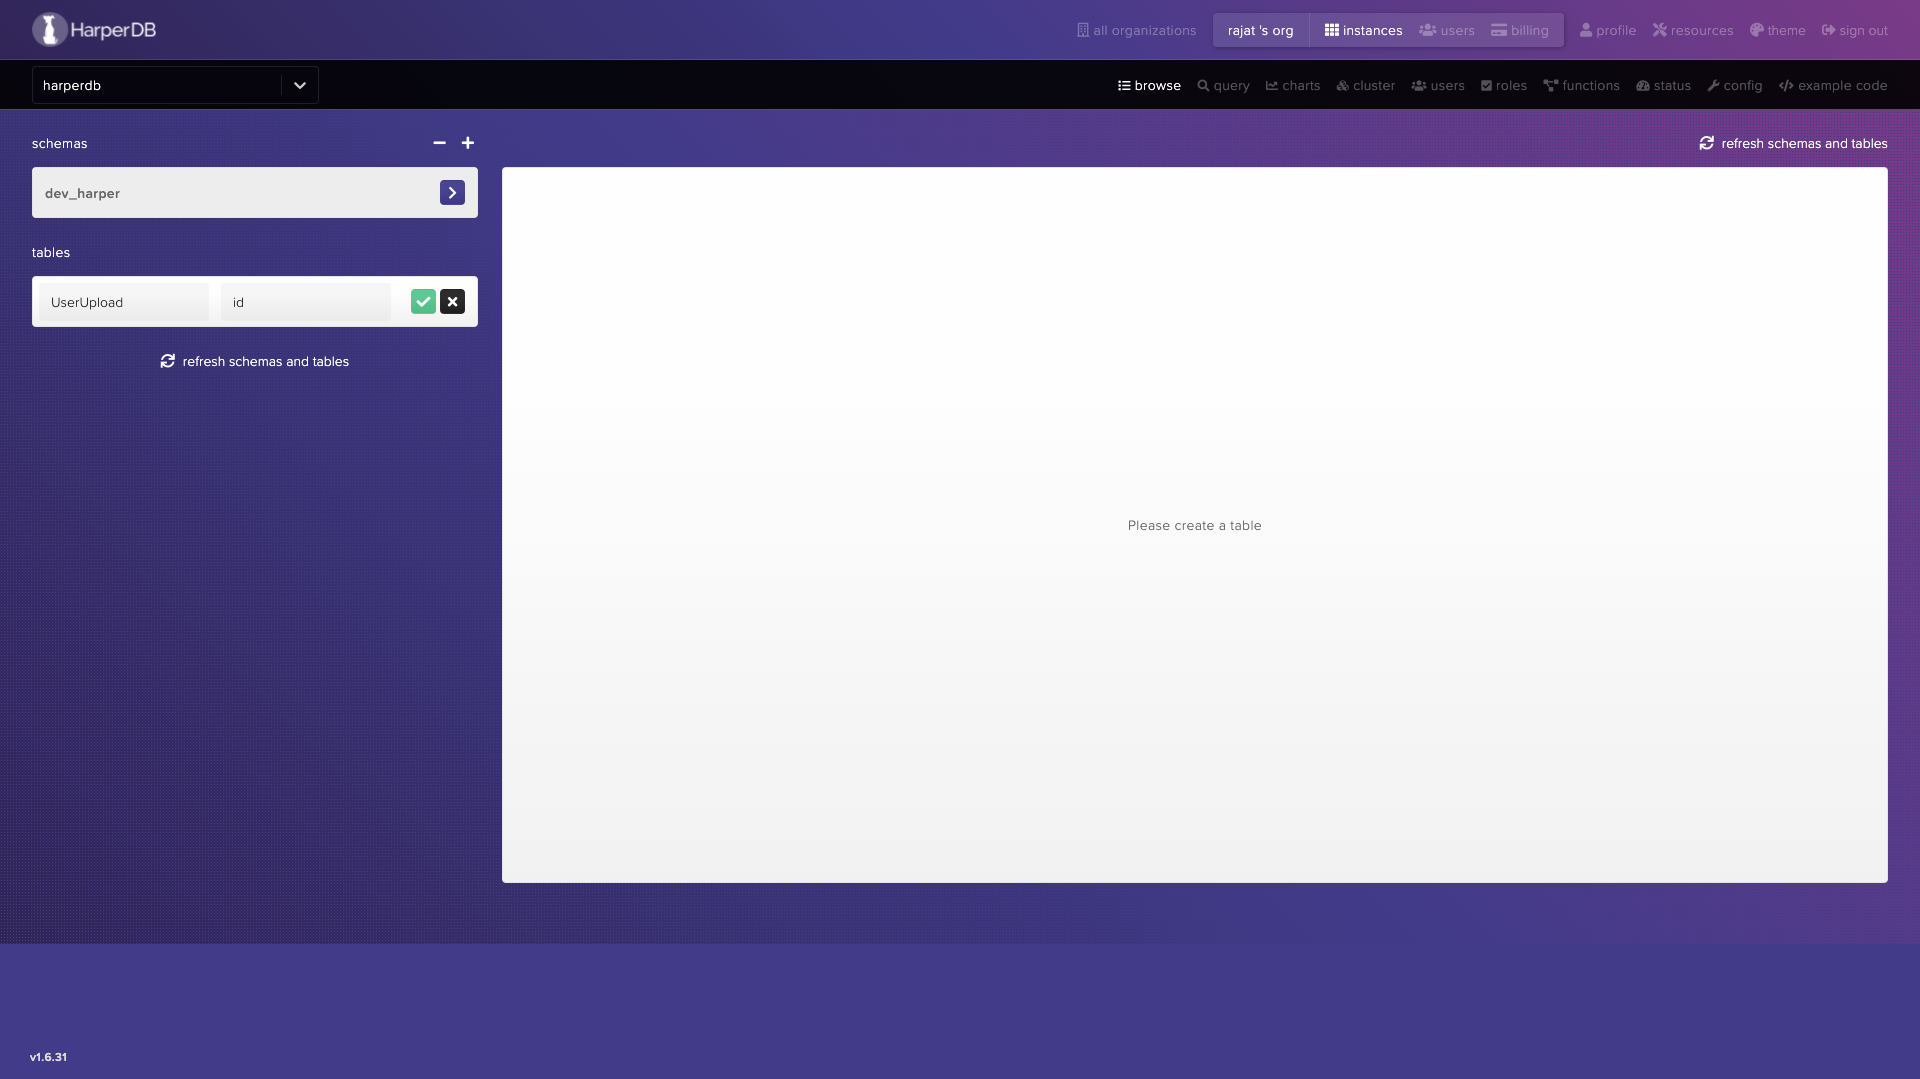
While creating the table, in the hash attr field enter id. This generates an id column that contains the unique fields that can be used to identify our individual records
Done, HarperDB schema and table are ready
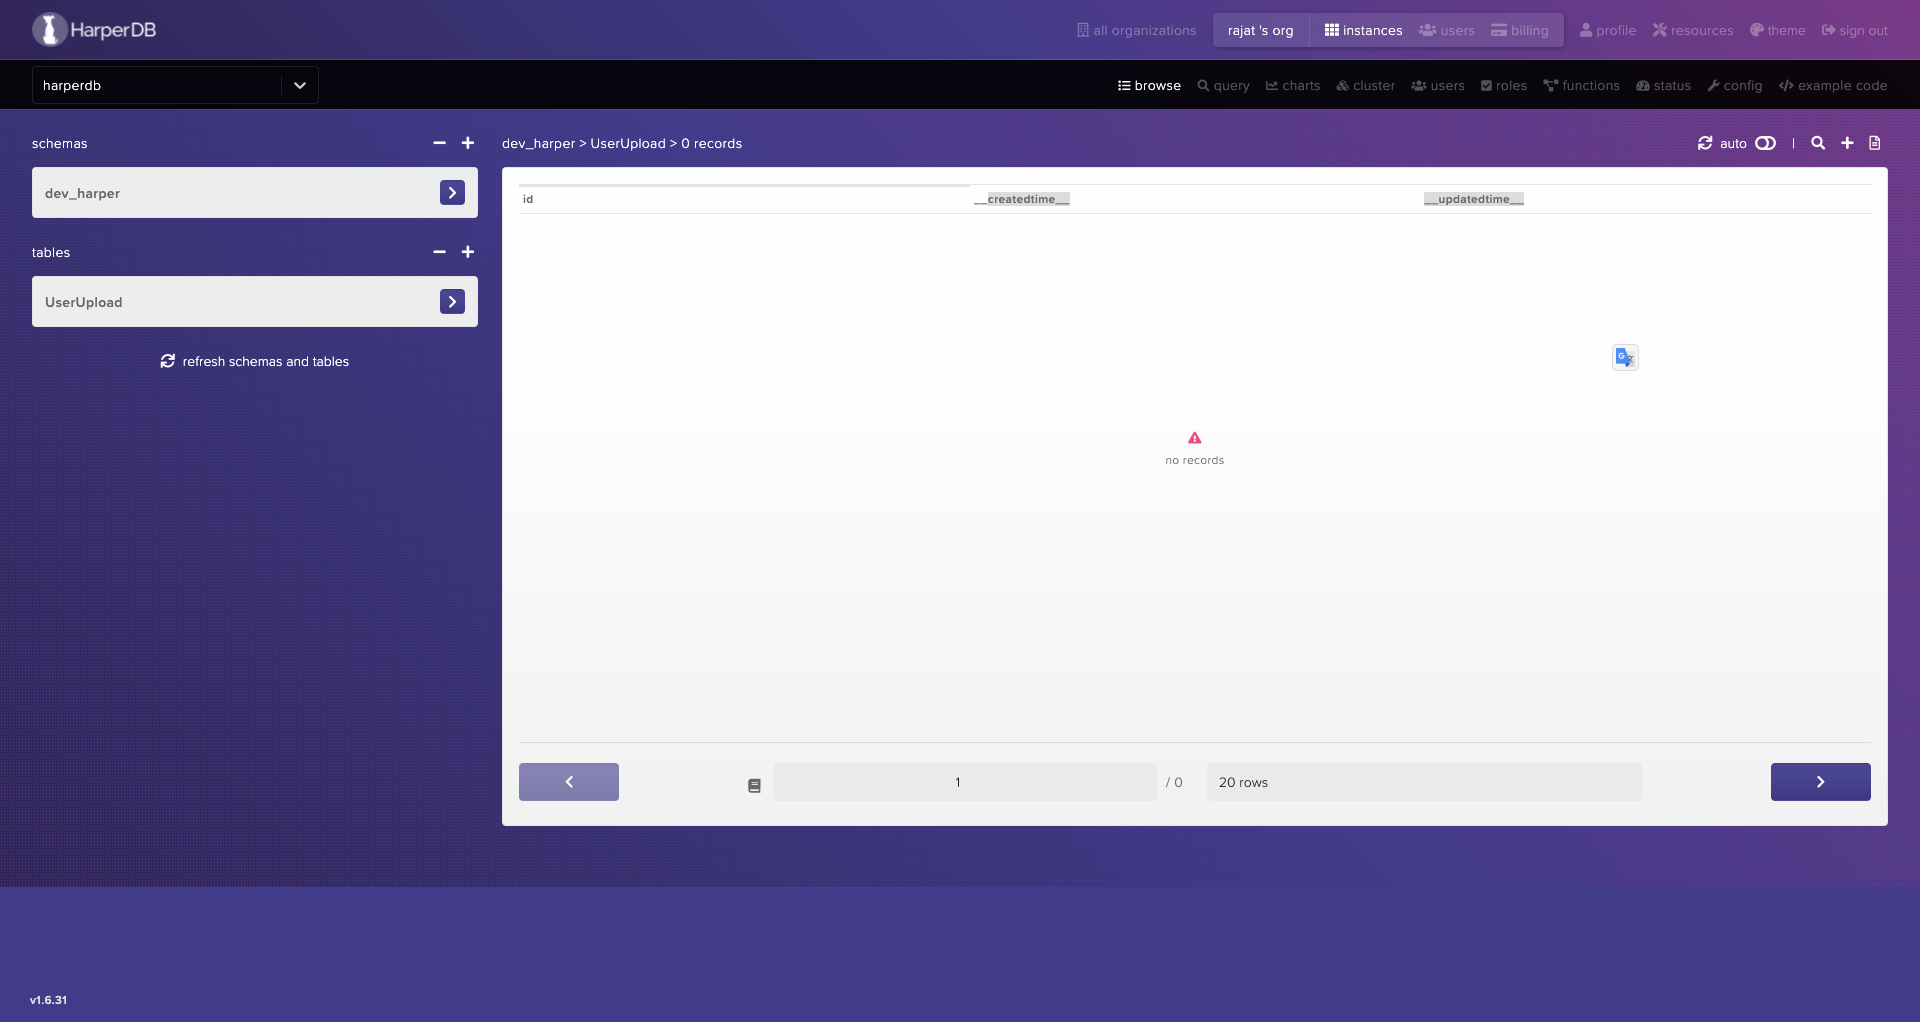
*HarperDB GUI is quite handy to perform all CRUD operations and I would suggest exploring that as well*
Setting up NodeJs app
Next up, will be setting up our node app. Once you have a new initialized project, make sure to install the following packages which we will be using throughout the course of this build. The latest version for all these should work absolutely fine.
npm I express nodemon bytes dotenv harperive multer sharp uuid
Head over to the package.json file and update the script section with the dev & start command
"scripts": {
    "dev": "nodemon src/index.js",
    "start": "node src/index.js"
  }
In the root directory of your project, create a .env file. The dotenv package we installed provides us with capabilities to read the content from the .env file anywhere inside our project.
Now, create an src folder and an index.js file which will be our starting point of the node app. Use the code below to set up the express server & the dotenv package
const express = require('express');
require('dotenv').config();

const app = express();

app.use((req, res, next) => {
    res.setHeader('Access-Control-Allow-Origin', '*');
    res.setHeader('Access-Control-Allow-Methods', 'GET, POST, PUT, DELETE');
    next();
})
app.listen(3000, () => {
    console.log(`⚡️[server]: Listing on port 3000`);
});
At this point, run the application using the command npm run dev which should kickstart our node server on port 3000.
Setting up the connection to HarperDB
Let us now configure our app to connect to our HarperDB server using the Harperive package. Firstly, let us configure the connection parameters in the .env file created before
DB_InstanceUrl = https://<YOUR_INSTANCE_NAME>.harperdbcloud.com
DB_Username = <YOUR_USERNAME>
DB_Password = <YOUR_PASSWORD>
DB_Schema=<DATABASE_SCHEMA_CREATED>
Make sure to update the details as per your configuration while setting up the could instance. You can get the details of the Instance URL from the config section in your HarperDB dashboard
Next, inside your source folder, create a new js file, this will contain the code to connect to the database via the harperive package. I have named the file as dbConfig.js
const hyperive = require('harperive');
require('dotenv').config();

const dbConfig = {
    harperHost: process.env.DB_InstanceUrl,
    username: process.env.DB_Username,
    password: process.env.DB_Password,
    schema: process.env.DB_Schema
};
const Client = hyperive.Client;
const dbSetter = new Client(dbConfig);

module.exports = dbSetter;
Here, we create a configuration object with the details for our connection from the environment file. We then use the Client object on harperive to generate our dbSetter object which we mark to export from this file. We can now use this object to interact with our cloud HarperDB instance.
Make sure to name the config parameters correctly. I misspelled the harperHost field and spent nearly 20 minutes figuring out why my connection was not getting established.
Setting up Routes
For this follow-along, we will be creating two endpoints. One to store the user and the details of the image uploaded. The other one to get the user details based on the harperdb id field.
Let's create a new routes folder in our src directory and update its content
const express = require('express');
const userController = require('../controller/userController');
const router = express.Router();

router.post('/upload', userController.upload);
router.get('/:id', userController.getById)

module.exports = router;
We will be creating the UserController in the next step but I have already added the code here so that I know what methods I am going to need in my controller
We also need to update the index.js to use the userRoutes. We have defined a base route of /API/v1/
const userRouter = require('./routes/userRoute');
app.use('/api/v1/users/', userRouter);
Setting up User Controller
Create a new file userController.js inside a new folder controller. This file will contain our actual business logic to Upload/resize and save the images
For now, we will just create two methods one our upload and the other for getById as defined in our routes file
exports.upload = async (req, res) => {
    try {

    }
    catch (e) {
        console.error(e);
        res.status(400).send();
    }
}

exports.getById = async (req, res) => {
    try {
        const id = req.params.id;
    }
    catch (e) {
        console.error(e);
        res.status(500).send();
    }
}
File Upload using Multer
As the basic setup is now in place, let us now finally move to the main requirement of uploading the image. Multer is a very known NPM package that works as middleware and adds capabilities to receive files from the user request and store them in a directory or buffer.
Include the multer package in our file
const multer = require('multer');
We will be using the multer memory storage option as we want to process and resize the images before they are stored.
const uploadStorage = multer.memoryStorage();
We also want to restrict the file types user can upload. We can do that using a filter
const uploadFilter = (req, file, handler) => {
    if (file.mimetype.startsWith('image')) {
        handler(null, true)
    } else {
        handler("Not an image! Only Image Upload Allowed", false)
    }
}
This method accepts three params, the actual request, the file on the request and the handler call back method.
Every file uploaded via a form will have a mimetype field associated with it. And all images will have this value start with the image text.
The callback method takes in two params, the first is an error and the second if it is a success or not. So here we check if the mimetype is an image we just set the error to null and success to true. In the else part we mention the error that only image upload is allowed. The callback method in case of success moves the request to the next stage and in case of failure, it just returns the response with the defined error.
Next, we will create the multer config object and pass on the storage and filter methods to its respective options params
const multerUploadConfig = multer({
    storage: uploadStorage,
    fileFilter: uploadFilter
})
The final step in the multer configuration is to create the middleware function and specify that we want to upload a single file and the property name on the incoming req which will contain this file.
exports.multerUploadMiddleWare = multerUploadConfig.single('photo');
In the case of multiple uploads, there are other methods available in the config object instead of single, but that is beyond the context of this requirement.
We also need to update our route in userRouter so that this middleware is called whenever that route is activated
router.post('/upload', userController.multerUploadMiddleWare,
    userController.upload);
Resizing the Images & Updating the Request
We will now use the Sharp package to resize and format our image as per our requirements. Let us start by including Sharp and UUID in our file
const { v4: uuidv4 } = require('uuid');
const sharp = require('sharp');
Create a new middleware called resizeUserPhoto which will be used to process the image. We have assumed that the user might be uploading a very large image and all we want to do is to resize one single image uploaded by the user into two separate images of 350*350 & 200*200 dimensions.
Like all other middlewares, this method will also take in three params. Request, Response, and the next.
Note: UUID is an npm package that generates a random unique identifier which we can use to rename our images to make sure we don't have the problem of duplicates
We first create two new properties on the req.file attribute to store the names of the new resized files.
  req.file.filenameRound = `${uuidv4()}-round.jpeg`;
  req.file.filenameSquare = `${uuidv4()}-sqauare.jpeg`;
Multer middleware which was triggered before this step has already processed and kept our uploaded image in form of buffer in the req.file field. Now let us use the sharp package on this file and chain all the operations we want to perform on it before it is actually saved
   sharp(req.file.buffer)
        .resize(350, 350, {
            fit: 'cover'
        })
        .toFormat('jpeg')
        .jpeg({ quality: 100 })
        .toFile(`public/img/users/${req.file.filenameRound}`);
We first resize the image to desired dimensions. The resize method has a third optional param in which we can supply various more customizations. You can learn more about them @ https://sharp.pixelplumbing.com/api-resize. We just use the fit key and supply the cover param.
We will then use the toFormat method to set the extension. We already know that the file uploaded was an image as we checked that in previous middleware. So, here irrespective of the format uploaded up the user, we convert it to a jpeg format.
We can also use the .jpeg method with the quality key to determining the quality of the processed images. You can give a number here between 1 to 100 to decrease the quality as compared to the original one.
Finally, we call the toFile method and save the file in our file directory with the name generated before. Make sure to create this directory in your root project directory before calling the API.
We can now repeat the same call with another set of params to process our image for some other use case. We then call the next() method to move on the pipeline execution to the next phase.
exports.resizeUserPhoto = async (req, res, next) => {

 if (!req.file) return next();
    req.file.filenameRound = `${uuidv4()}-round.jpeg`;
    req.file.filenameSquare = `${uuidv4()}-sqauare.jpeg`;

   sharp(req.file.buffer)
        .resize(350, 350, {
            fit: 'cover'
        })
        .toFormat('jpeg')
        .jpeg({ quality: 100 })
        .toFile(`public/img/users/${req.file.filenameRound}`);

    sharp(req.file.buffer)
        .resize(200, 200, {
            fit: 'contain'
        })
        .toFormat('jpeg')
        .jpeg({ quality: 100 })
        .toFile(`public/img/users/${req.file.filenameSquare}`);

    next();
}
Head back to the userRouter and update the route to have the resize middleware included as well. Our route file is now fully updated and ready.
const express = require('express');
const userController = require('../controller/userController');
const router = express.Router();

router.post('/upload', userController.multerUploadMiddleWare,
    userController.resizeUserPhoto,
    userController.upload);

router.get('/:id', userController.getById)

module.exports = router;
Upload details to HarperDB
We will now implement the main upload method. We want to upload the user & its image details to be stored in the database. The actual images will be available in a file directory on our node server and their unique names will be stored along with the user details in the database.
Import the dbConfig.js file, bytes, and the harperive package
const dbClient = require('../dbConfig');
const hyperive = require('harperive');
Create two variables for storing the Schema and table name
const SCHEMA = process.env.DB_Schema;
const SCHEMA_TABLE = 'UserUploads';
We first check if there is a file in the request. If so, we get the actual file name that was uploaded by the user. This is done to show the real name on the client-side as the processed images are stored with different unique names
We then use the Insert method on the dbClient object. This method will be returning a promise to we are using the async await way of handling it.
The insert method expects few mandatory fields like the table name & the body which is provided in the records field array.
Let us generate our userUpload object to save the details we require in the database
{
username: req.body.name,
                email: req.body.email,
                actualFileName: req.body.actualFileName,
                actualFizeSize: `${bytes(req.file.size)}`,
                processedFiles: [
                    {
                        internalFileName: req.file.filenameRound,
                        dimension: '350*350',
                    },
                    {
                        internalFileName: req.file.filenameSquare,
                        dimension: '200*200',
                    }
}
Bytes package comes in handy here to convert the size of the image from the default bytes which come in the request. The processedFiles array will contain the names of the two files and the dimension which we processed them into.
exports.upload = async (req, res) => {
    if (req.file) {
        req.body.actualFileName = req.file.originalname;
    }
    try {
        const userUpload = await dbClient.insert({
            table: SCHEMA_TABLE,
            records: [{
                username: req.body.name,
                email: req.body.email,
                actualFileName: req.body.actualFileName,
                actualFizeSize: `${bytes(req.file.size)}`,
                processedFiles: [
                    {
                        internalFileName: req.file.filenameRound,
                        dimension: '350*350',
                    },
                    {
                        internalFileName: req.file.filenameSquare,
                        dimension: '200*200',
                    }
                ]

            }]
        });
        res.status(201).send(userUpload.data.inserted_hashes);
    }
    catch (e) {
        console.error(e);
        res.status(400).send();
    }
}
Once this call is a success, the id of the generated user is stored in the userUpload.data.inserted_hashes field of the response from harper which we send back from our endpoint.
So we have used the inbuilt endpoint insert to create the record. Now let us explore how we can use SQL query to fetch the records from this same table in which we inserted the record in JSON format
Get Data by ID
exports.getById = async (req, res) => {
    try {
        const id = req.params.id;
        const userById = await GetUserDetailsById(id);
        if (!userById) res.status(400).send();
        res.status(200).send(userById.data);
    }
    catch (e) {
        console.error(e);
        res.status(500).send();
    }
}
We will expect the id to be sent along with the request in the params. We can then use this ID to fetch the record from HarperDB and return it to the requestor. In case we don't find any record with that id we can send back a 400 Bad Request
const getByIdQuery = `Select * from ${SCHEMA}.${SCHEMA_TABLE} where id="${id}"`;
Frame a simple SQL query to select the record from the table based on the id. Use the query method on the dbClient object to trigger it and get the details.
GetUserDetailsById = async (id) => {
    try {
        const getByIdQuery = `Select * from ${SCHEMA}.${SCHEMA_TABLE} where id="${id}"`;
        const userById = await dbClient.query(getByIdQuery);
        return userById;
    }
    catch (e) {
        console.error(e);
    }
}
That's it our NodeJs & HarperDB app is ready to upload and process images. Time to test these two endpoints via Postman
Testing endpoints from Postman
Upload Images Test
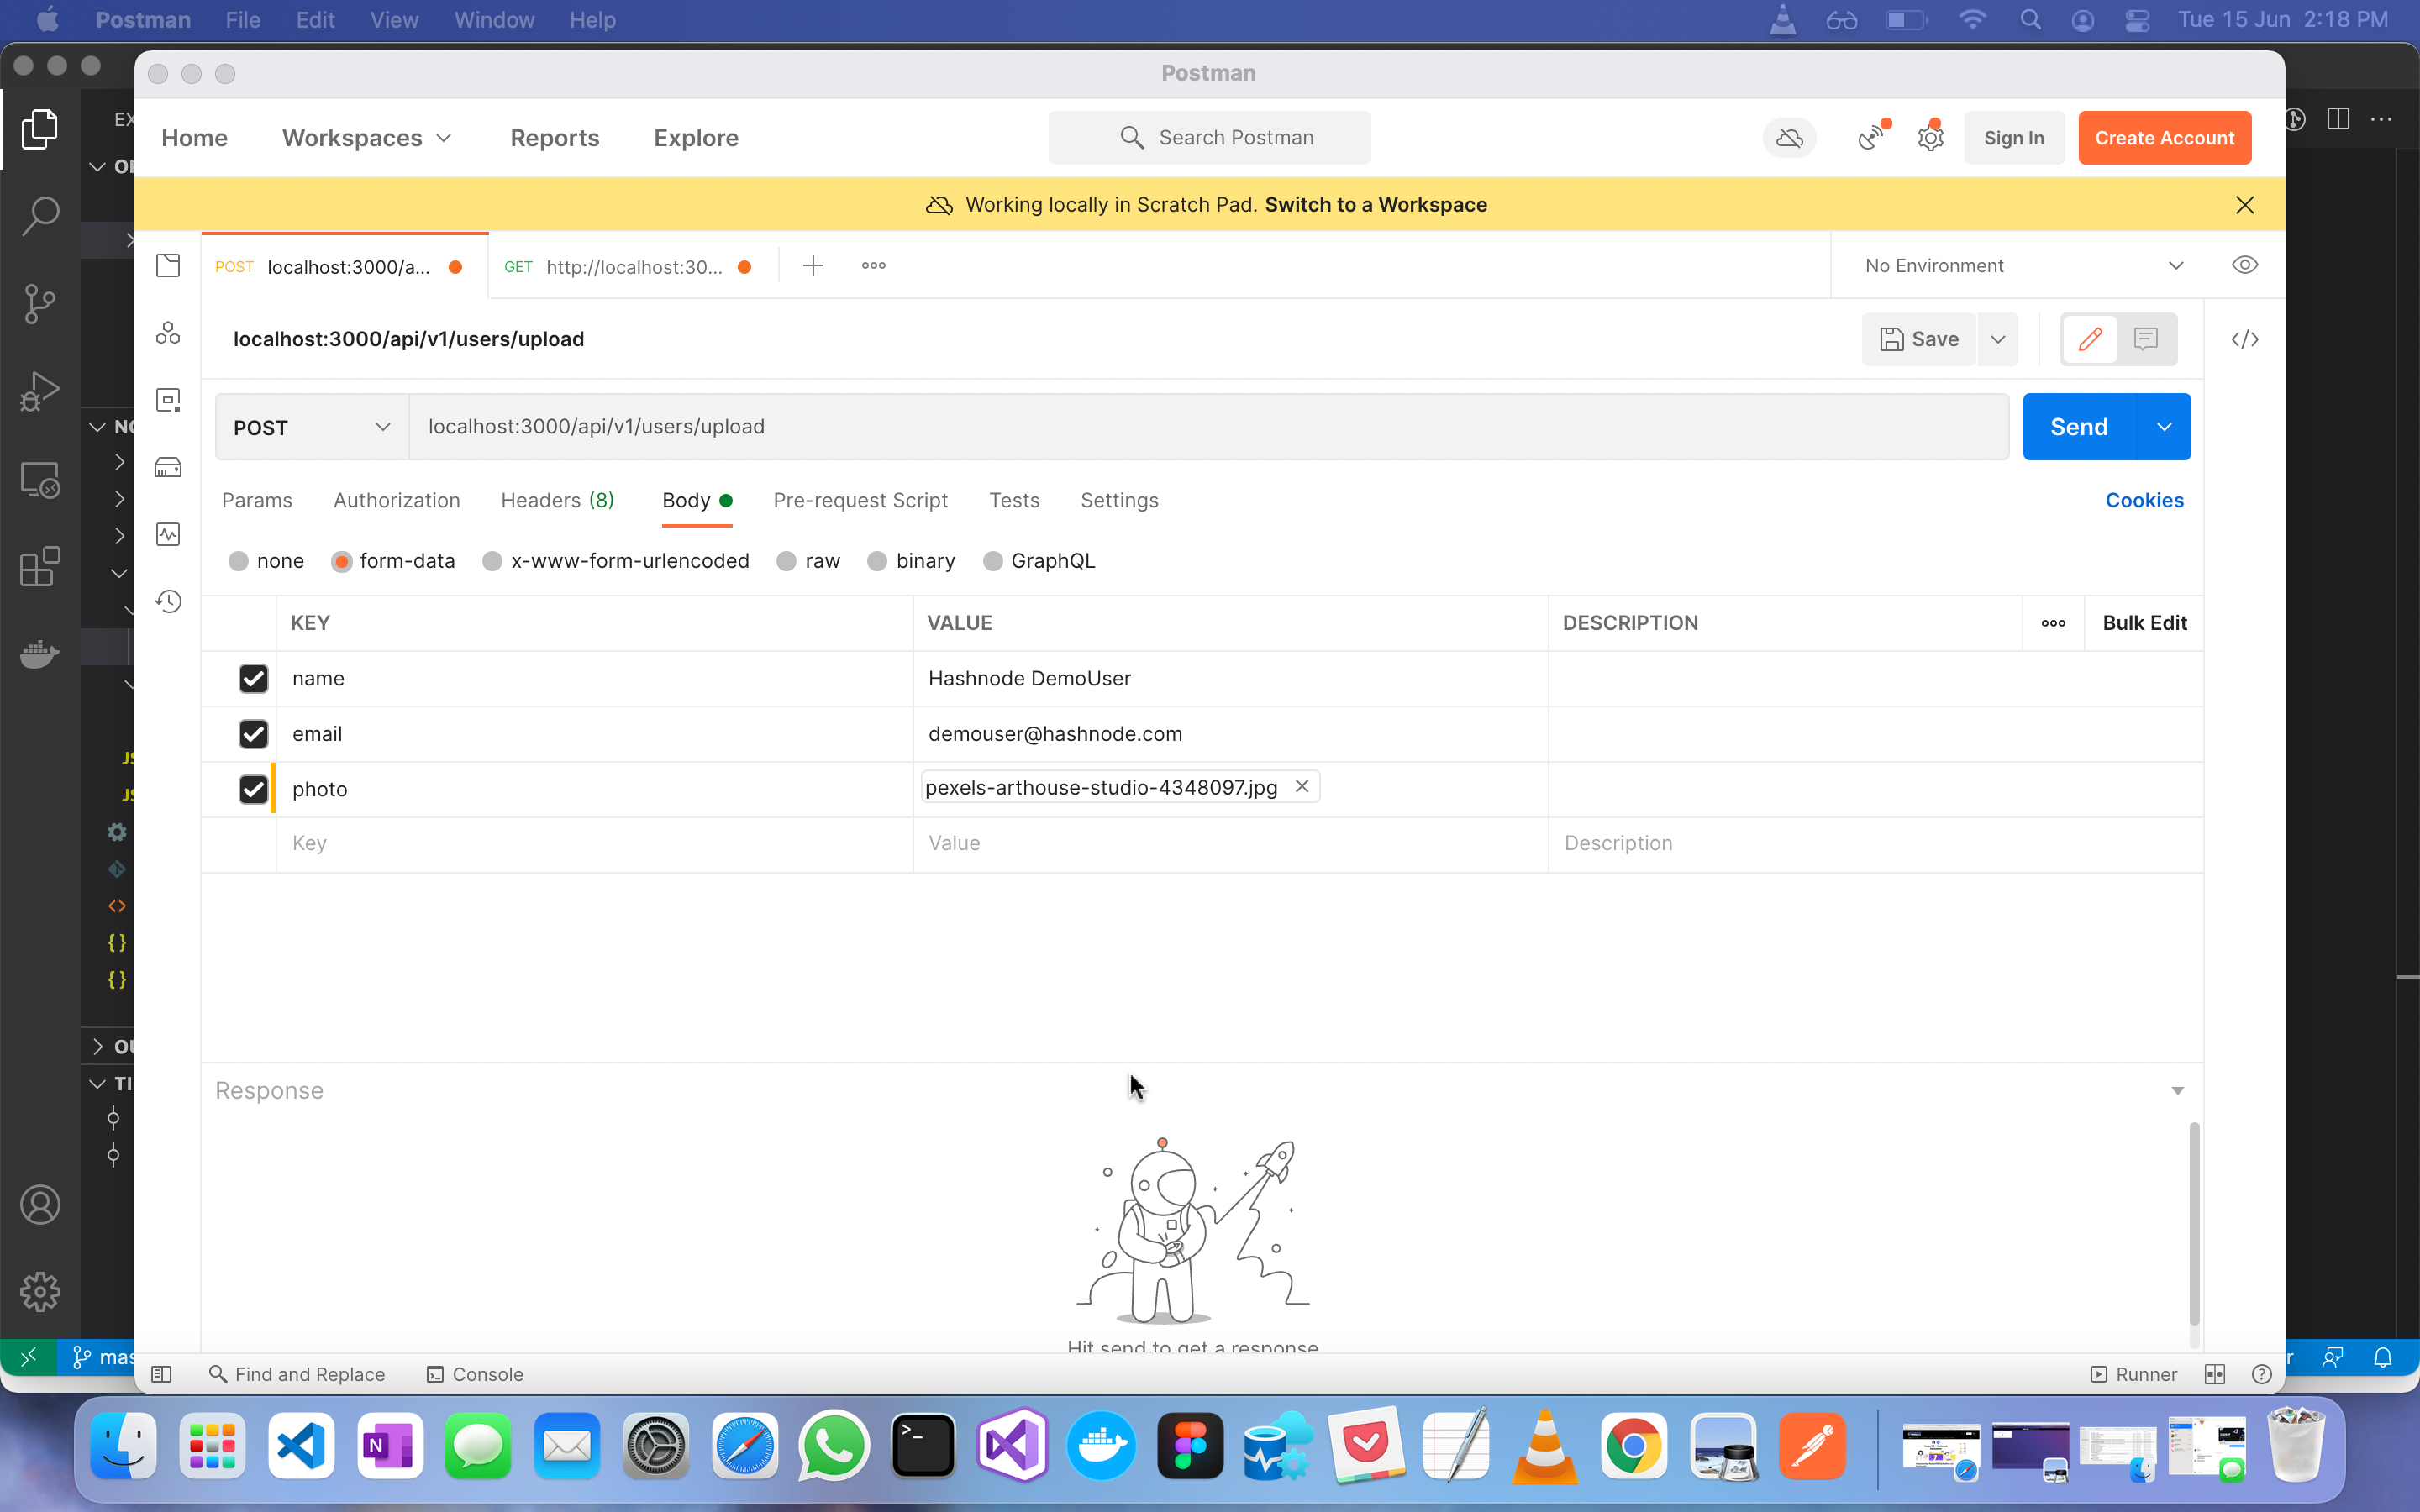
In the request for upload, we need to send a file hence we will be using the form-data option in body instead of raw JSON
URL => localhost:3000/api/v1/users/upload
Provide the name, email as key, and their corresponding values. For the file, upload change the key type to file from the default text and make sure to name it photo as this is the key which multer which check to get the file
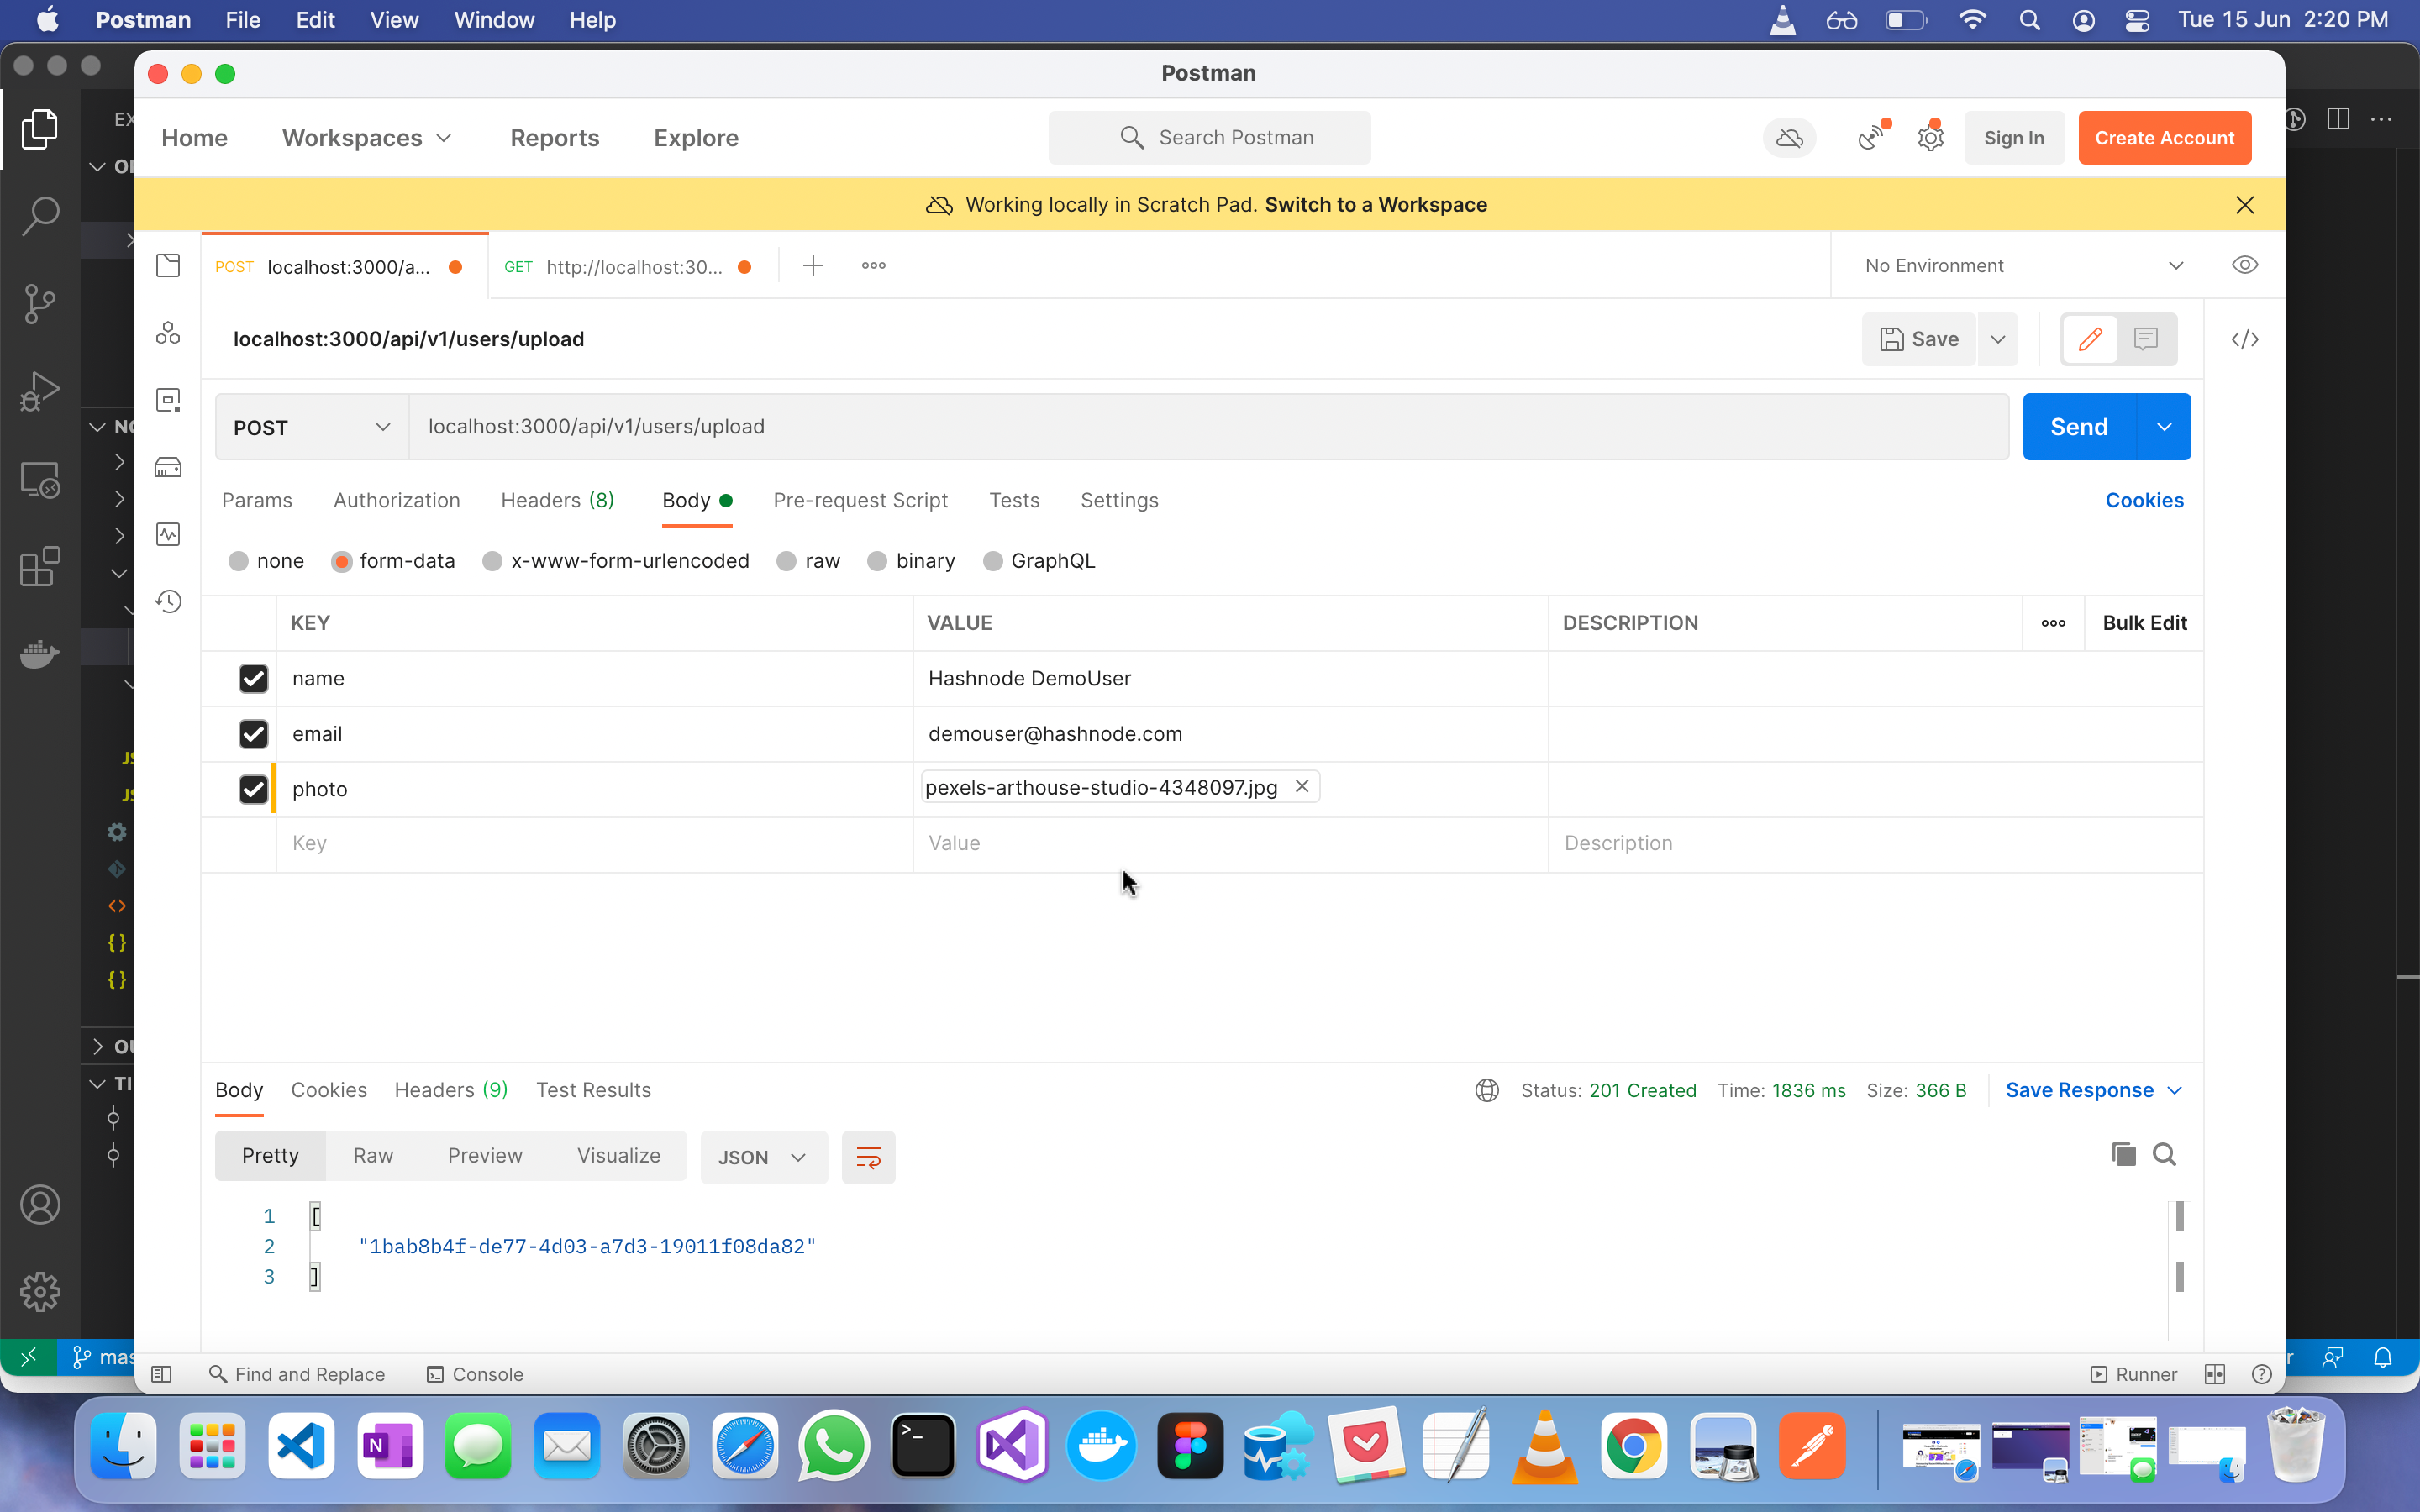
On successful execution, we should get back the id of the newly created entry in the database.
Let us verify it on our HarperDB dashboard and see how the data looks there
Below is the final JSON which is stored in our database
{
  actualFileName: 'pexels-arthouse-studio-4348097.jpg',
  actualFizeSize: '2.64MB',
  email: 'demouser@hashnode.com',
  processedFiles: [
    {
      internalFileName: 'ace2ef31-8d91-4da9-98f6-be12336bdfa1-round.jpeg',
      dimension: '350*350'
    },
    {
      internalFileName: '64d638f1-793d-4396-8dac-9a33911a25ed-sqauare.jpeg',
      dimension: '200*200'
    }
  ],
  username: 'Hashnode DemoUser'
}
We can also verify the dimensions of the actual image which was uploaded and the dimensions of the images saved in our directory after processing.

Get User Data Test
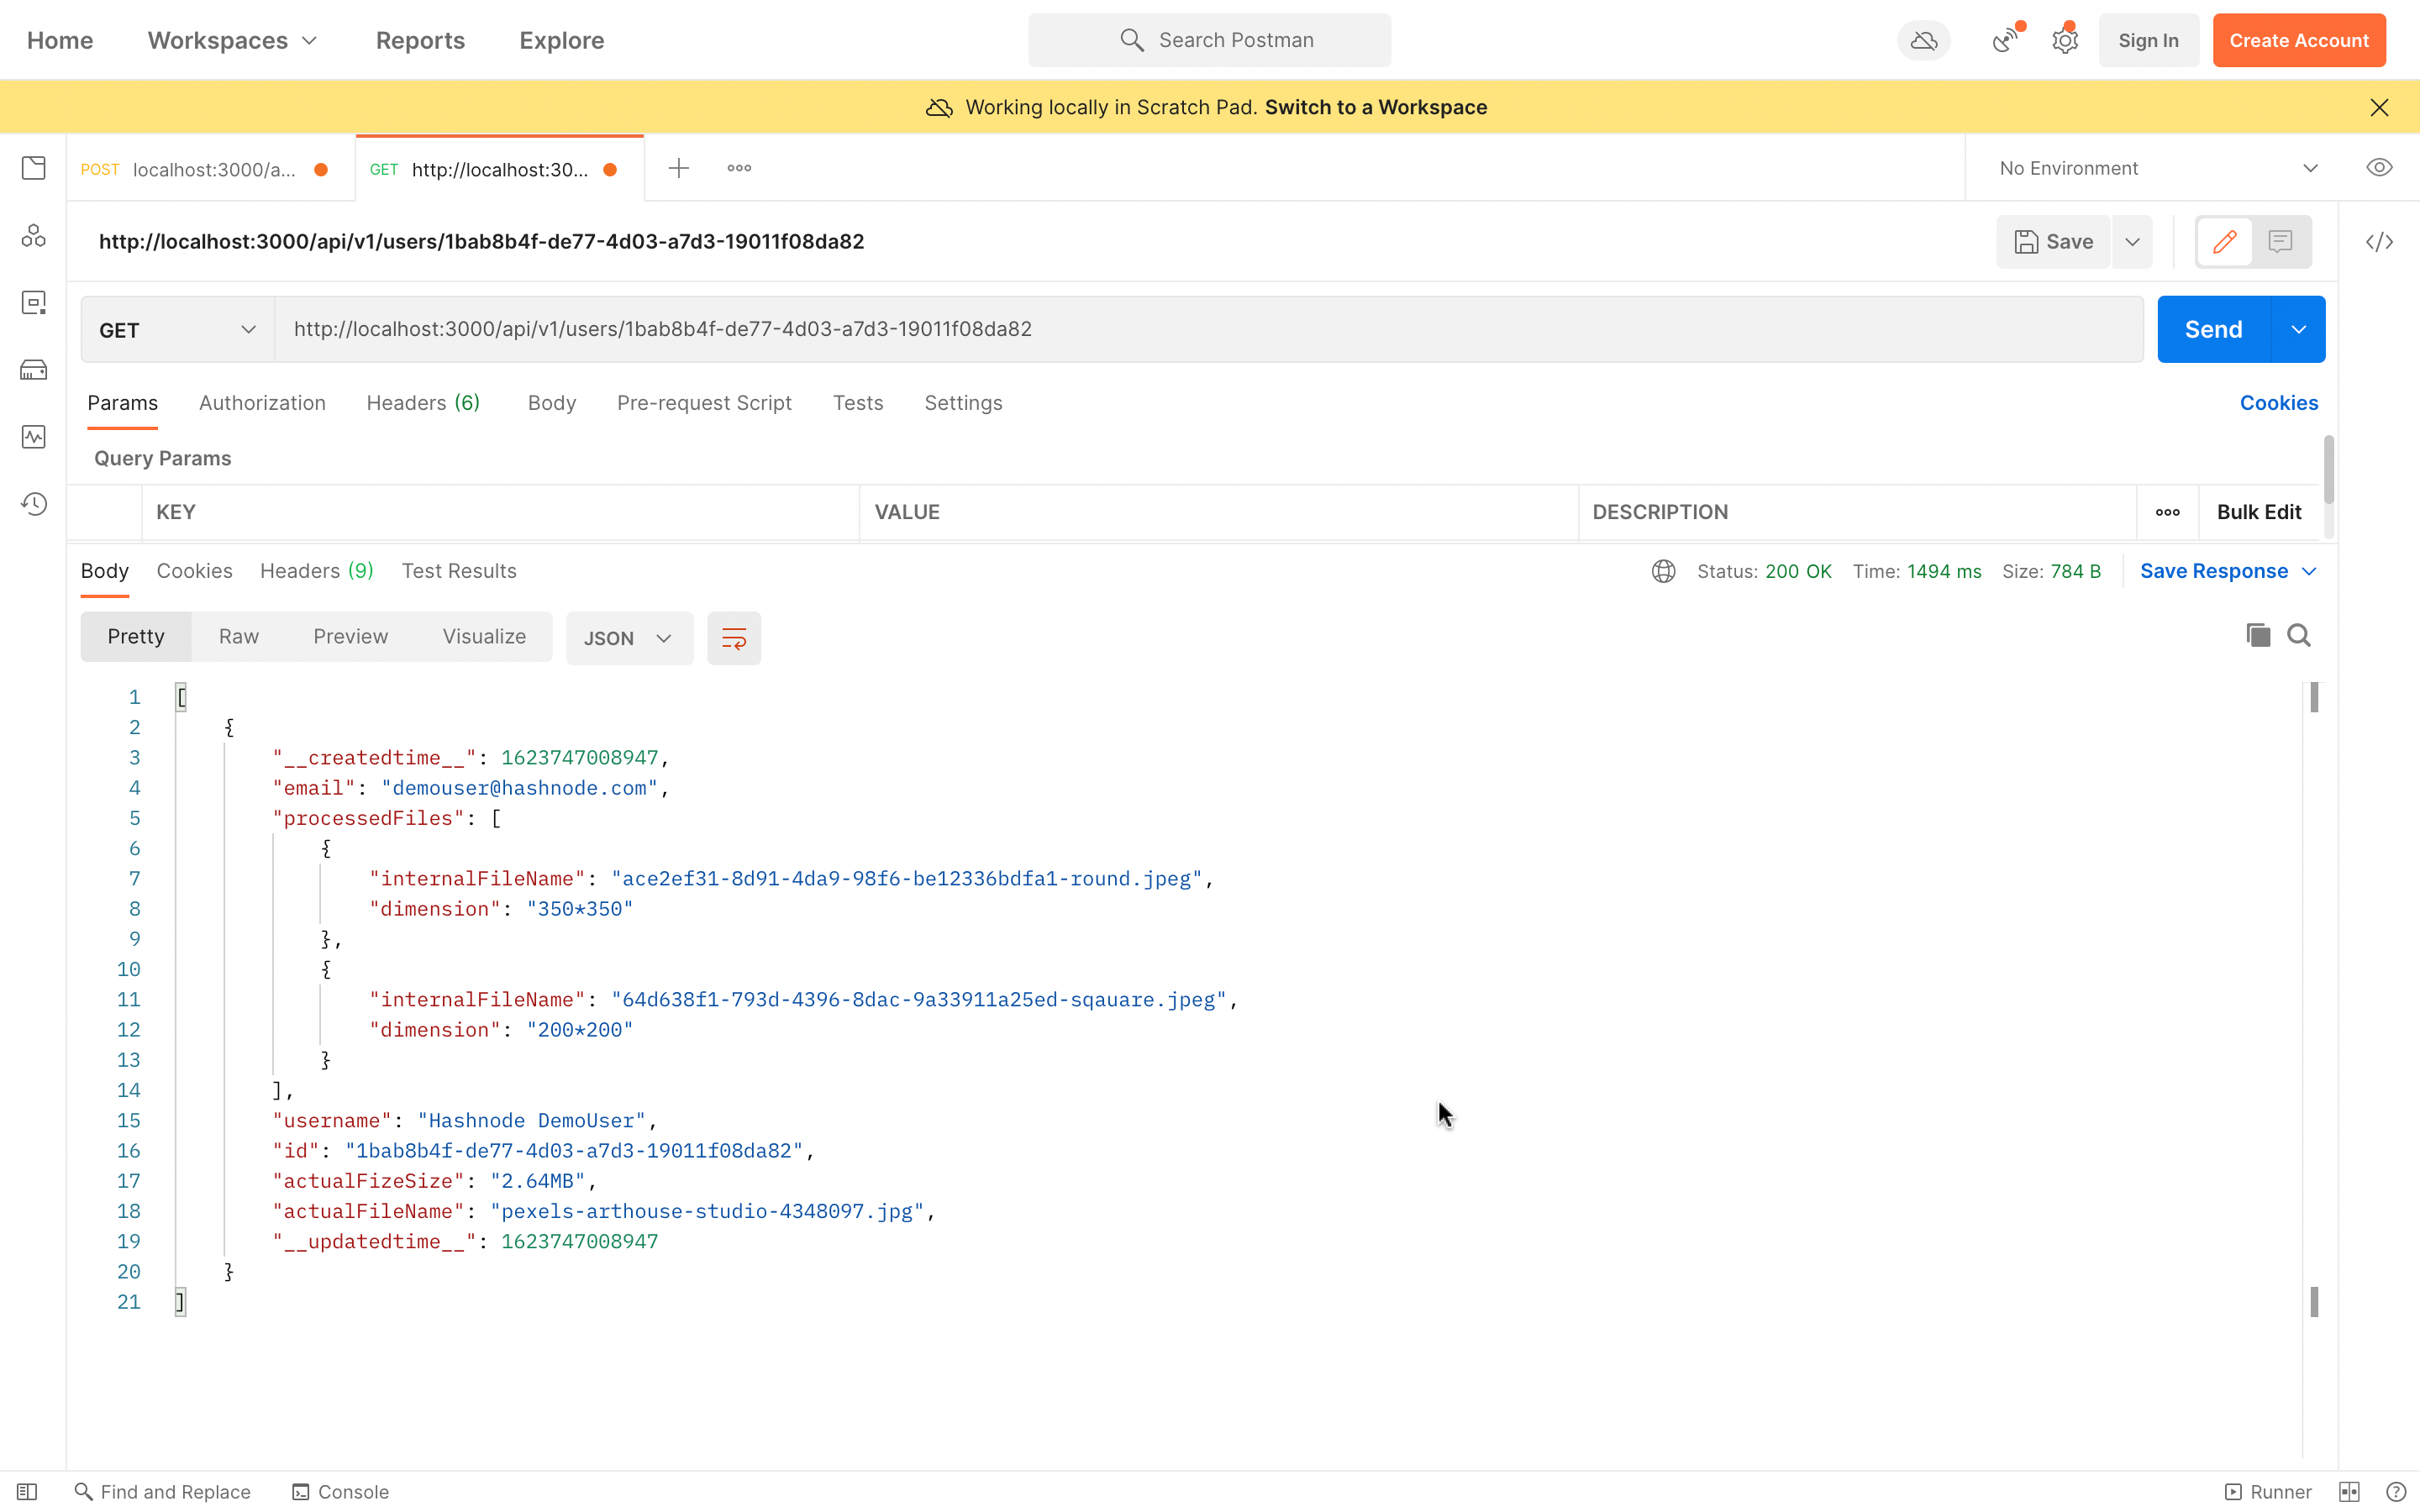
Not let us use up the id of the newly created user and request our GET endpoint to fetch the details
URL => localhost:3000/api/v1/users/1bab8b4f-de77-4d03-a7d3-19011f08da82
Build a JS Client
We have now implemented and tested our app using postman. Next let us build a simple HTML, CSS, and Javascript based client, which provides the user with a form to enter the details and upload an image. Post upload let us also show the two resized images on the UI.
This part of the project is completely optional as the target was to build a service that helps us upload/resize images using Node & HarperDB which has been done.
I just wanted to go in and create a full-stack app so that I can call these endpoints using it instead of the postman. I'll have used Scss for my styling and the Live SASS Compiler VS Code plugin to process my Scss files into CSS.
Let add an HTML file index.html with the following code
<!DOCTYPE html>
<html lang="en">
  <head>
    <meta charset="UTF-8" />
    <meta http-equiv="X-UA-Compatible" content="IE=edge" />
    <meta name="viewport" content="width=device-width, initial-scale=1.0" />
    <link rel="stylesheet" href="./fe-app/scss/style.css" />
    <script src="https://unpkg.com/axios/dist/axios.min.js"></script>
    <title>File Upload/Resize</title>
  </head>
  <body>
    <div class="content">
      <div class="content__main">
        <div class="content__uploader">
          <form id="userDataForm">
            <input
              type="text"
              placeholder="Enter full name"
              name="name"
              id="name"
            />
            <input
              type="email"
              placeholder="Enter email address"
              name=""
              id="email"
            />
            <input
              type="file"
              name="photo"
              id="photo"
              placeholder="Select profile image"
            />

            <button id="submit" type="button">Upload/Resize</button>
          </form>
        </div>
        <div class="content__display">
          <div class="round">
            <div class="image__holder">
              <img id="round" src="./fe-app/assets/default-pic.png" alt="" />
            </div>

            <div class="imgProperties">
              <h1 id="roundImageName"></h1>
              <h2 id="roundImageSize"></h2>
            </div>
          </div>
          <div class="square">
            <div class="image__holder">
              <img id="square" src="./fe-app/assets/default-pic.png" alt="" />
            </div>
            <div class="imgProperties">
              <h1 id="squareImageName"></h1>
              <h2 id="squareImageSize"></h2>
            </div>
          </div>
        </div>
      </div>
    </div>

    <script src="./fe-app/js/script.js"></script>
  </body>
</html>
For my javascript and CSS files, I have created a folder structure as below
Following is the final CSS generated using the plugin
@import url("https://fonts.googleapis.com/css2?family=Anton&display=swap");
@import url("https://fonts.googleapis.com/css2?family=Kanit:wght@300&display=swap");
html {
  font-size: 100%;
  -webkit-box-sizing: border-box;
          box-sizing: border-box;
}

*,
*::before,
*::after {
  -webkit-box-sizing: border-box;
          box-sizing: border-box;
}

a,
a:visited,
a:hover {
  text-decoration: none;
}

h1,
h2,
h3 {
  margin-top: 0;
}

body {
  margin: 0;
  padding: 0;
  line-height: 1.3;
  font-family: "Public Sans", sans-serif;
  width: 100vw;
  min-height: 100vh;
}

body {
  background: url(../assets/one.svg);
  background-repeat: no-repeat;
  background-size: cover;
}

.content {
  width: 100%;
  max-width: 1200px;
  margin: 0 auto;
  height: 100vh;
  padding: 10px;
}

.content h1 {
  text-align: center;
  color: white;
  font-size: 1em;
  letter-spacing: 5px;
  font-size: 2em;
  text-transform: uppercase;
}

.content__main {
  font-size: 2rem;
  display: -webkit-box;
  display: -ms-flexbox;
  display: flex;
  -webkit-box-pack: center;
      -ms-flex-pack: center;
          justify-content: center;
  -webkit-box-align: center;
      -ms-flex-align: center;
          align-items: center;
  -webkit-box-orient: vertical;
  -webkit-box-direction: normal;
      -ms-flex-direction: column;
          flex-direction: column;
  padding: 10px;
}

.content__uploader,
.content__display {
  padding: 10px;
  width: 100%;
}

.content__uploader {
  padding: 10px;
  width: 100%;
}

.content__uploader form {
  -webkit-box-shadow: 5px 5px 15px #001b29, -5px -5px 15px #00293d;
          box-shadow: 5px 5px 15px #001b29, -5px -5px 15px #00293d;
  border-radius: 30px;
  -webkit-box-pack: justify;
      -ms-flex-pack: justify;
          justify-content: space-between;
  padding: 20px;
  display: -webkit-box;
  display: -ms-flexbox;
  display: flex;
}

.content__uploader form input {
  width: 250px;
  padding: 15px;
  border-radius: 3px;
  border: 1px solid #6c7888;
  outline: none;
  color: whitesmoke;
  background-color: transparent;
  font-size: 14px;
  font-family: "Kanit", sans-serif;
}

button {
  width: 160px;
  padding: 12px 15px;
  border-radius: 30px;
  background: -webkit-gradient(linear, left top, left bottom, from(#cc2b5e), color-stop(#d1305d), color-stop(#dc3e5b), color-stop(#ea505b), color-stop(#f56561), to(#fa7268));
  background: linear-gradient(180deg, #cc2b5e, #d1305d, #dc3e5b, #ea505b, #f56561, #fa7268);
  text-align: center;
  border: none;
  outline: none;
  cursor: pointer;
  font-size: 18px;
  color: whitesmoke;
  letter-spacing: 1px;
}

.content__display {
  margin-top: 15px;
  width: 100%;
  display: -webkit-box;
  display: -ms-flexbox;
  display: flex;
  -webkit-box-align: center;
      -ms-flex-align: center;
          align-items: center;
  -webkit-box-pack: center;
      -ms-flex-pack: center;
          justify-content: center;
}

.content__display .round,
.content__display .square {
  display: -webkit-box;
  display: -ms-flexbox;
  display: flex;
  -ms-flex-pack: distribute;
      justify-content: space-around;
  -webkit-box-align: center;
      -ms-flex-align: center;
          align-items: center;
  -webkit-box-orient: vertical;
  -webkit-box-direction: normal;
      -ms-flex-direction: column;
          flex-direction: column;
  padding: 30px;
  width: 100%;
}

.content__display .round img,
.content__display .square img {
  border: 2px solid white;
}

.content__display .round img {
  width: 300px;
  height: 300px;
  border-radius: 50%;
  -o-object-fit: contain;
     object-fit: contain;
}

.content__display .square img {
  width: 200px;
  height: 200px;
  -o-object-fit: contain;
     object-fit: contain;
}

.content__display .imgProperties {
  margin-top: 40px;
  display: -webkit-box;
  display: -ms-flexbox;
  display: flex;
  -webkit-box-orient: vertical;
  -webkit-box-direction: normal;
      -ms-flex-direction: column;
          flex-direction: column;
  -webkit-box-pack: center;
      -ms-flex-pack: center;
          justify-content: center;
  -webkit-box-align: center;
      -ms-flex-align: center;
          align-items: center;
}

.content__display .imgProperties h1 {
  font-size: 16px;
  color: whitesmoke;
}

.content__display .imgProperties h2 {
  color: #6c7888;
  font-size: 14px;
}

.image__holder {
  display: -webkit-box;
  display: -ms-flexbox;
  display: flex;
  -webkit-box-pack: center;
      -ms-flex-pack: center;
          justify-content: center;
  -webkit-box-align: center;
      -ms-flex-align: center;
          align-items: center;
  width: 260px;
  height: 260px;
}
/*# sourceMappingURL=style.css.map */
And the last step is to create the script file which we will use to make calls to the rest API. We will be using Axios for it. We have already added the CDN link for the same in our HTML file
const baseUrl = 'http://localhost:3000/api/v1/users/';
const roundName = document.getElementById('roundImageName');
const roundSize = document.getElementById('roundImageSize');
const squareName = document.getElementById('squareImageName');
const squareSize = document.getElementById('squareImageSize');
const userForm = document.getElementById('userDataForm');
const roundImg = document.getElementById('round');
const squareImg = document.getElementById('square');
const buttonHere = document.getElementById('submit');

buttonHere.addEventListener('click', (e) => {
    e.preventDefault();
    UploadImages(e);
});

async function UploadImages(e) {
    const formData = new FormData();
    formData.append('name', document.getElementById('name').value);
    formData.append('email', document.getElementById('email').value);
    formData.append('photo', document.getElementById('photo').files[0]);
    console.log(document.getElementById('photo').files[0]);
    try {
        const response = await axios.post(`${baseUrl}upload`, formData);
        const id = response.data[0];
        GetUploadImages(id);
        document.getElementById('name').value = '';
        document.getElementById('email').value = '';
        document.getElementById('photo').value = null;
    }
    catch (error) {
        console.error(error);
    }

}

async function GetUploadImages(id) {
    axios.get(`${baseUrl}${id}`)
        .then(res => {
            const userData = res.data[0];
            console.log(userData);
            UpdateDom(userData);
        })
        .catch(error => {
            console.error(error);
        })
}

UpdateDom = (data => {
    console.log(data.processedFiles[0].internalFileName)
    roundImg.src = `../../public/img/users/${data.processedFiles[0].internalFileName}`;
    squareImg.src = `../../public/img/users/${data.processedFiles[1].internalFileName}`;
    roundName.innerText = data.actualFileName;
    squareName.innerText = data.actualFileName;
    roundSize.innerText = data.processedFiles[0].dimension;
    squareSize.innerText = data.processedFiles[1].dimension;
})
So what we doing here is on the button click of our Resize/Upload button, we are creating a FormData object as we did in postman.
const formData = new FormData();
    formData.append('name', document.getElementById('name').value);
    formData.append('email', document.getElementById('email').value);
    formData.append('photo', document.getElementById('photo').files[0]);
Since we are uploading a single file we can directly refer to the [0] index file for our photo. We will then make an asynchronous call to our upload API. Once we have the id of the new entry, we will use that id to make the get call to fetch the details of the processed images.
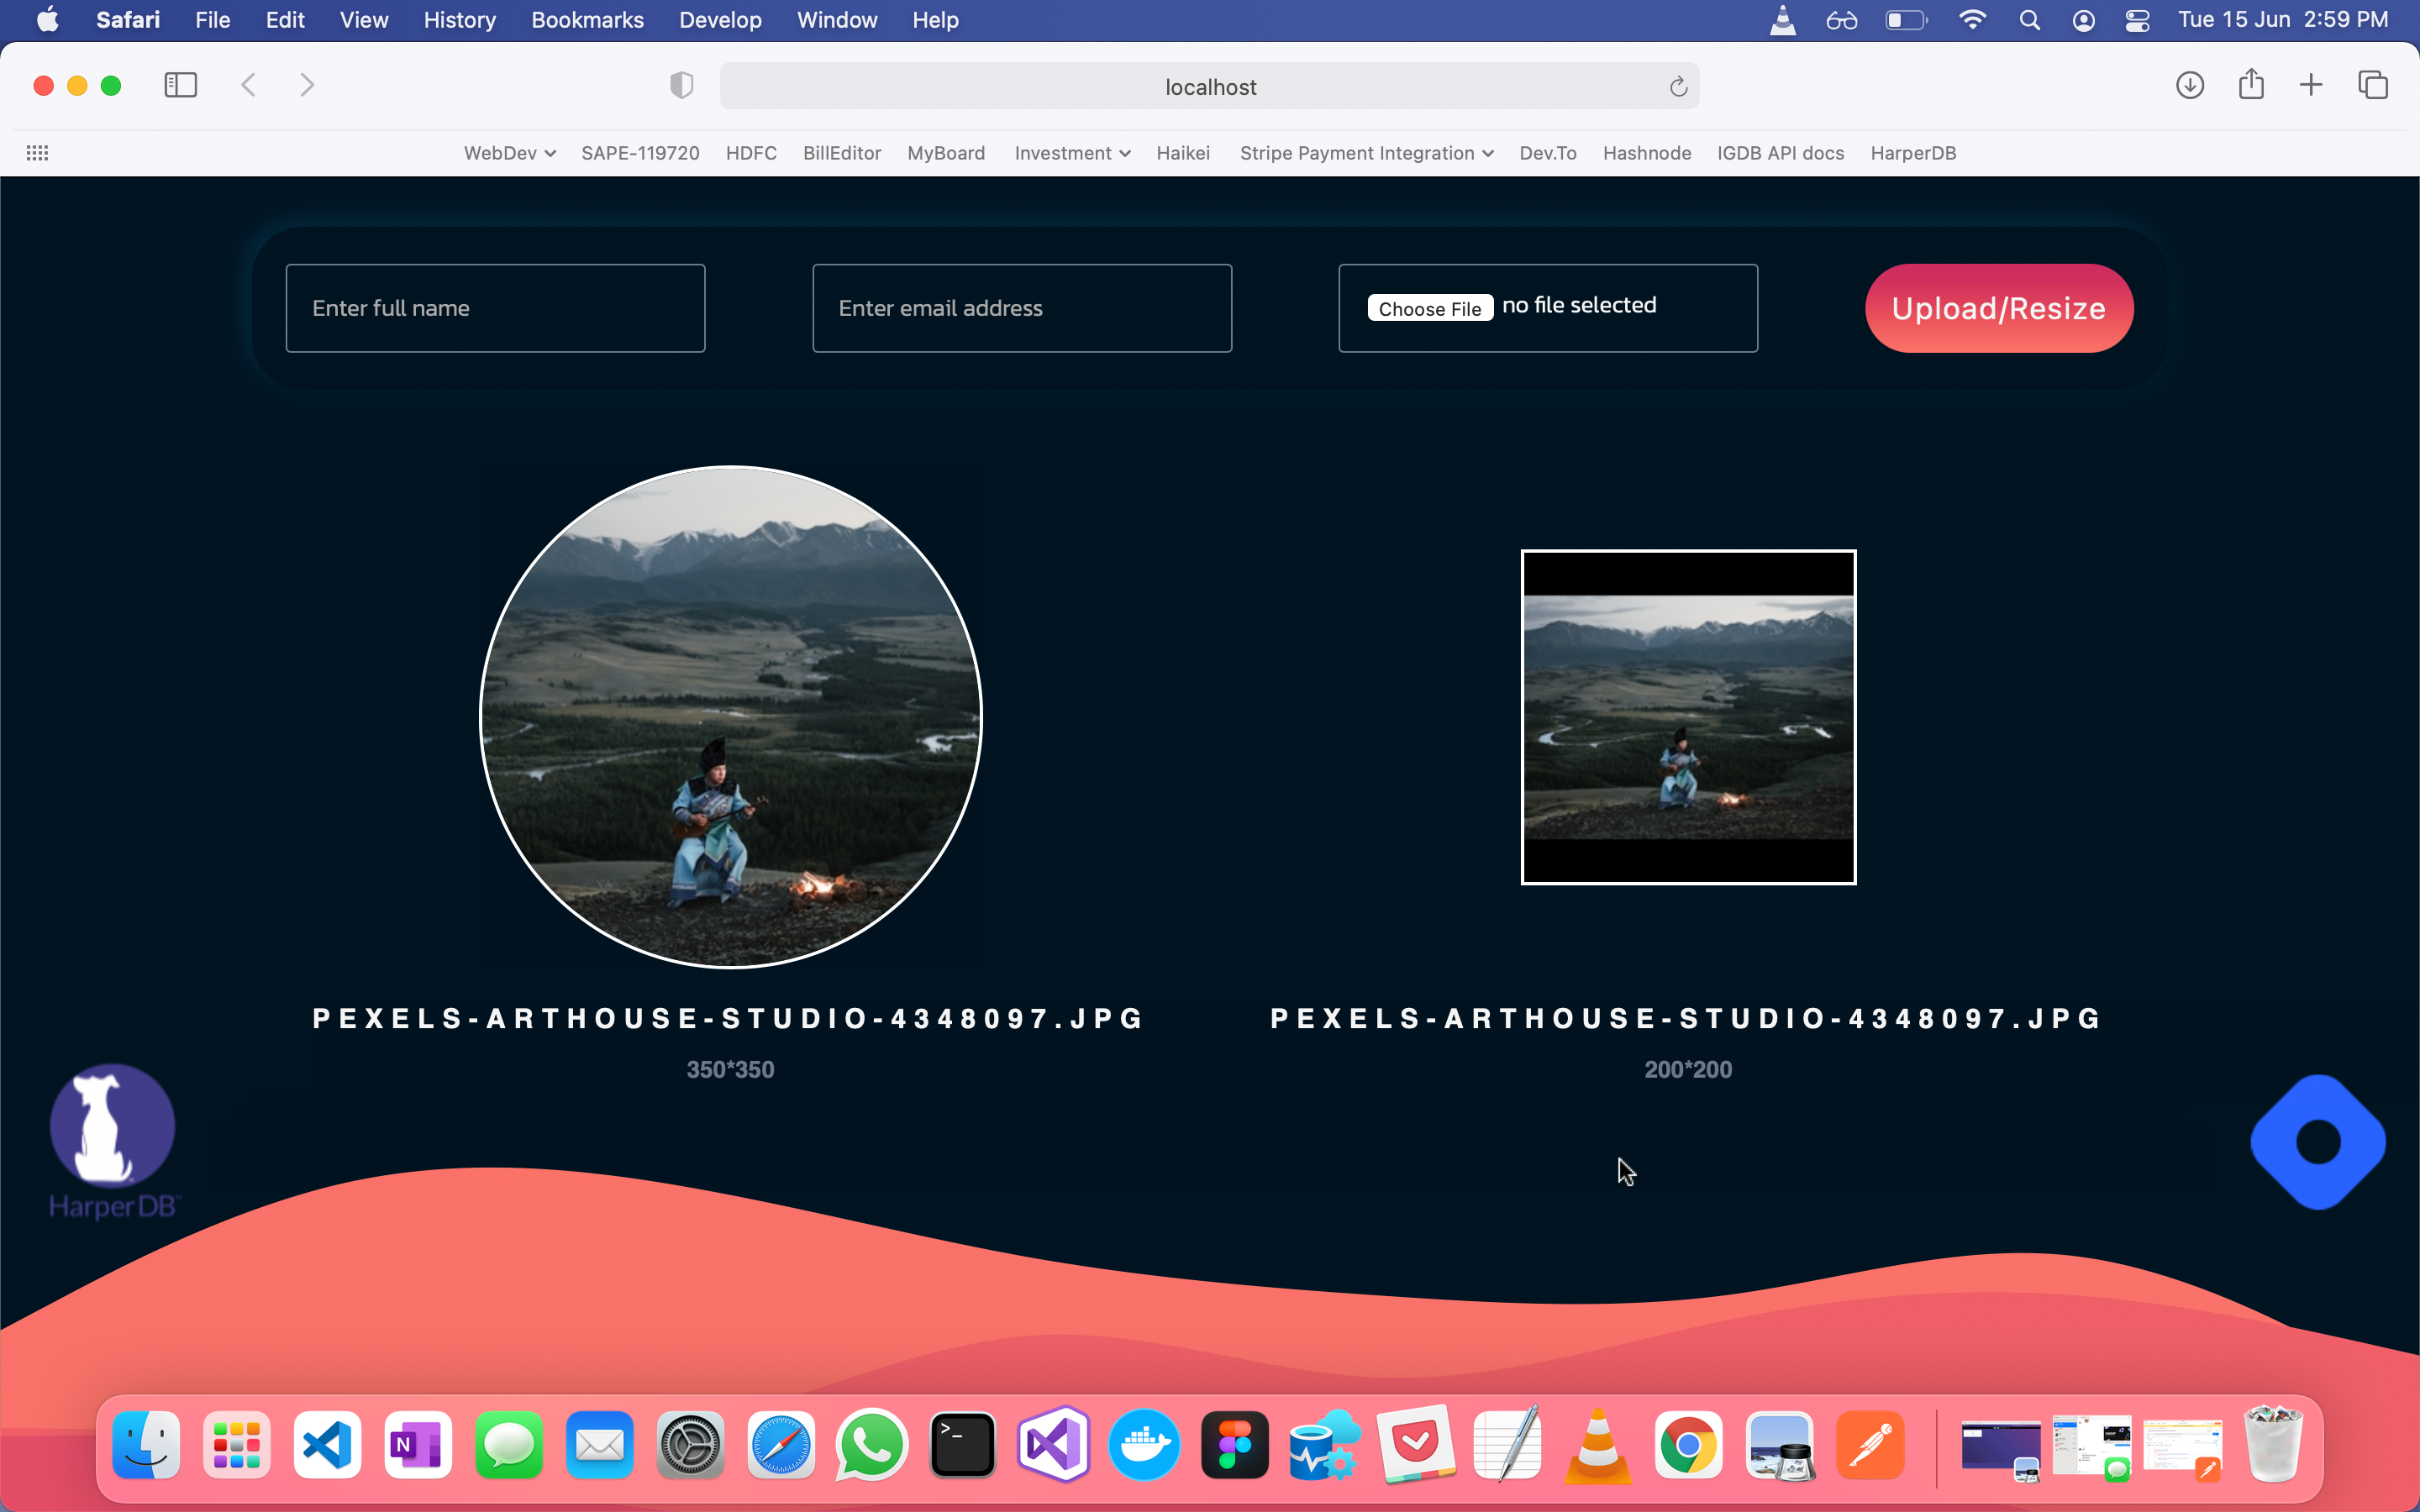
On receiving these details we will update the source of our two image tags in the HTML to show the compressed images and some fields to display the relevant information
Once the call is completed we should have something like this on the screen
Conclusion
We have today used the multer and sharp npm packages to upload/resize images in a Nodejs & HarperDB app. I hope you would have found this useful and I was able to help you in some way.
Link to the source code => https://github.com/rajat-srivas/Node-Harper-FileUploader
This is also my entry for the #HarperDBHackathon currently going on Hashnode so please make sure to provide your feedback in any form.


