Integrate full screen Here Maps with Javascript
Today, let us see how we can integrate Here Maps with Javascript to display full-screen maps with multiple markers and info-bubble.

Hey people, this is going to be a short one where we are going to integrate the freemium version of Here Maps with our Javascript application. What we want to do is to load a full-screen map, show some custom markers along with details about the location. The map will also be responsive to zooms and scrolls.
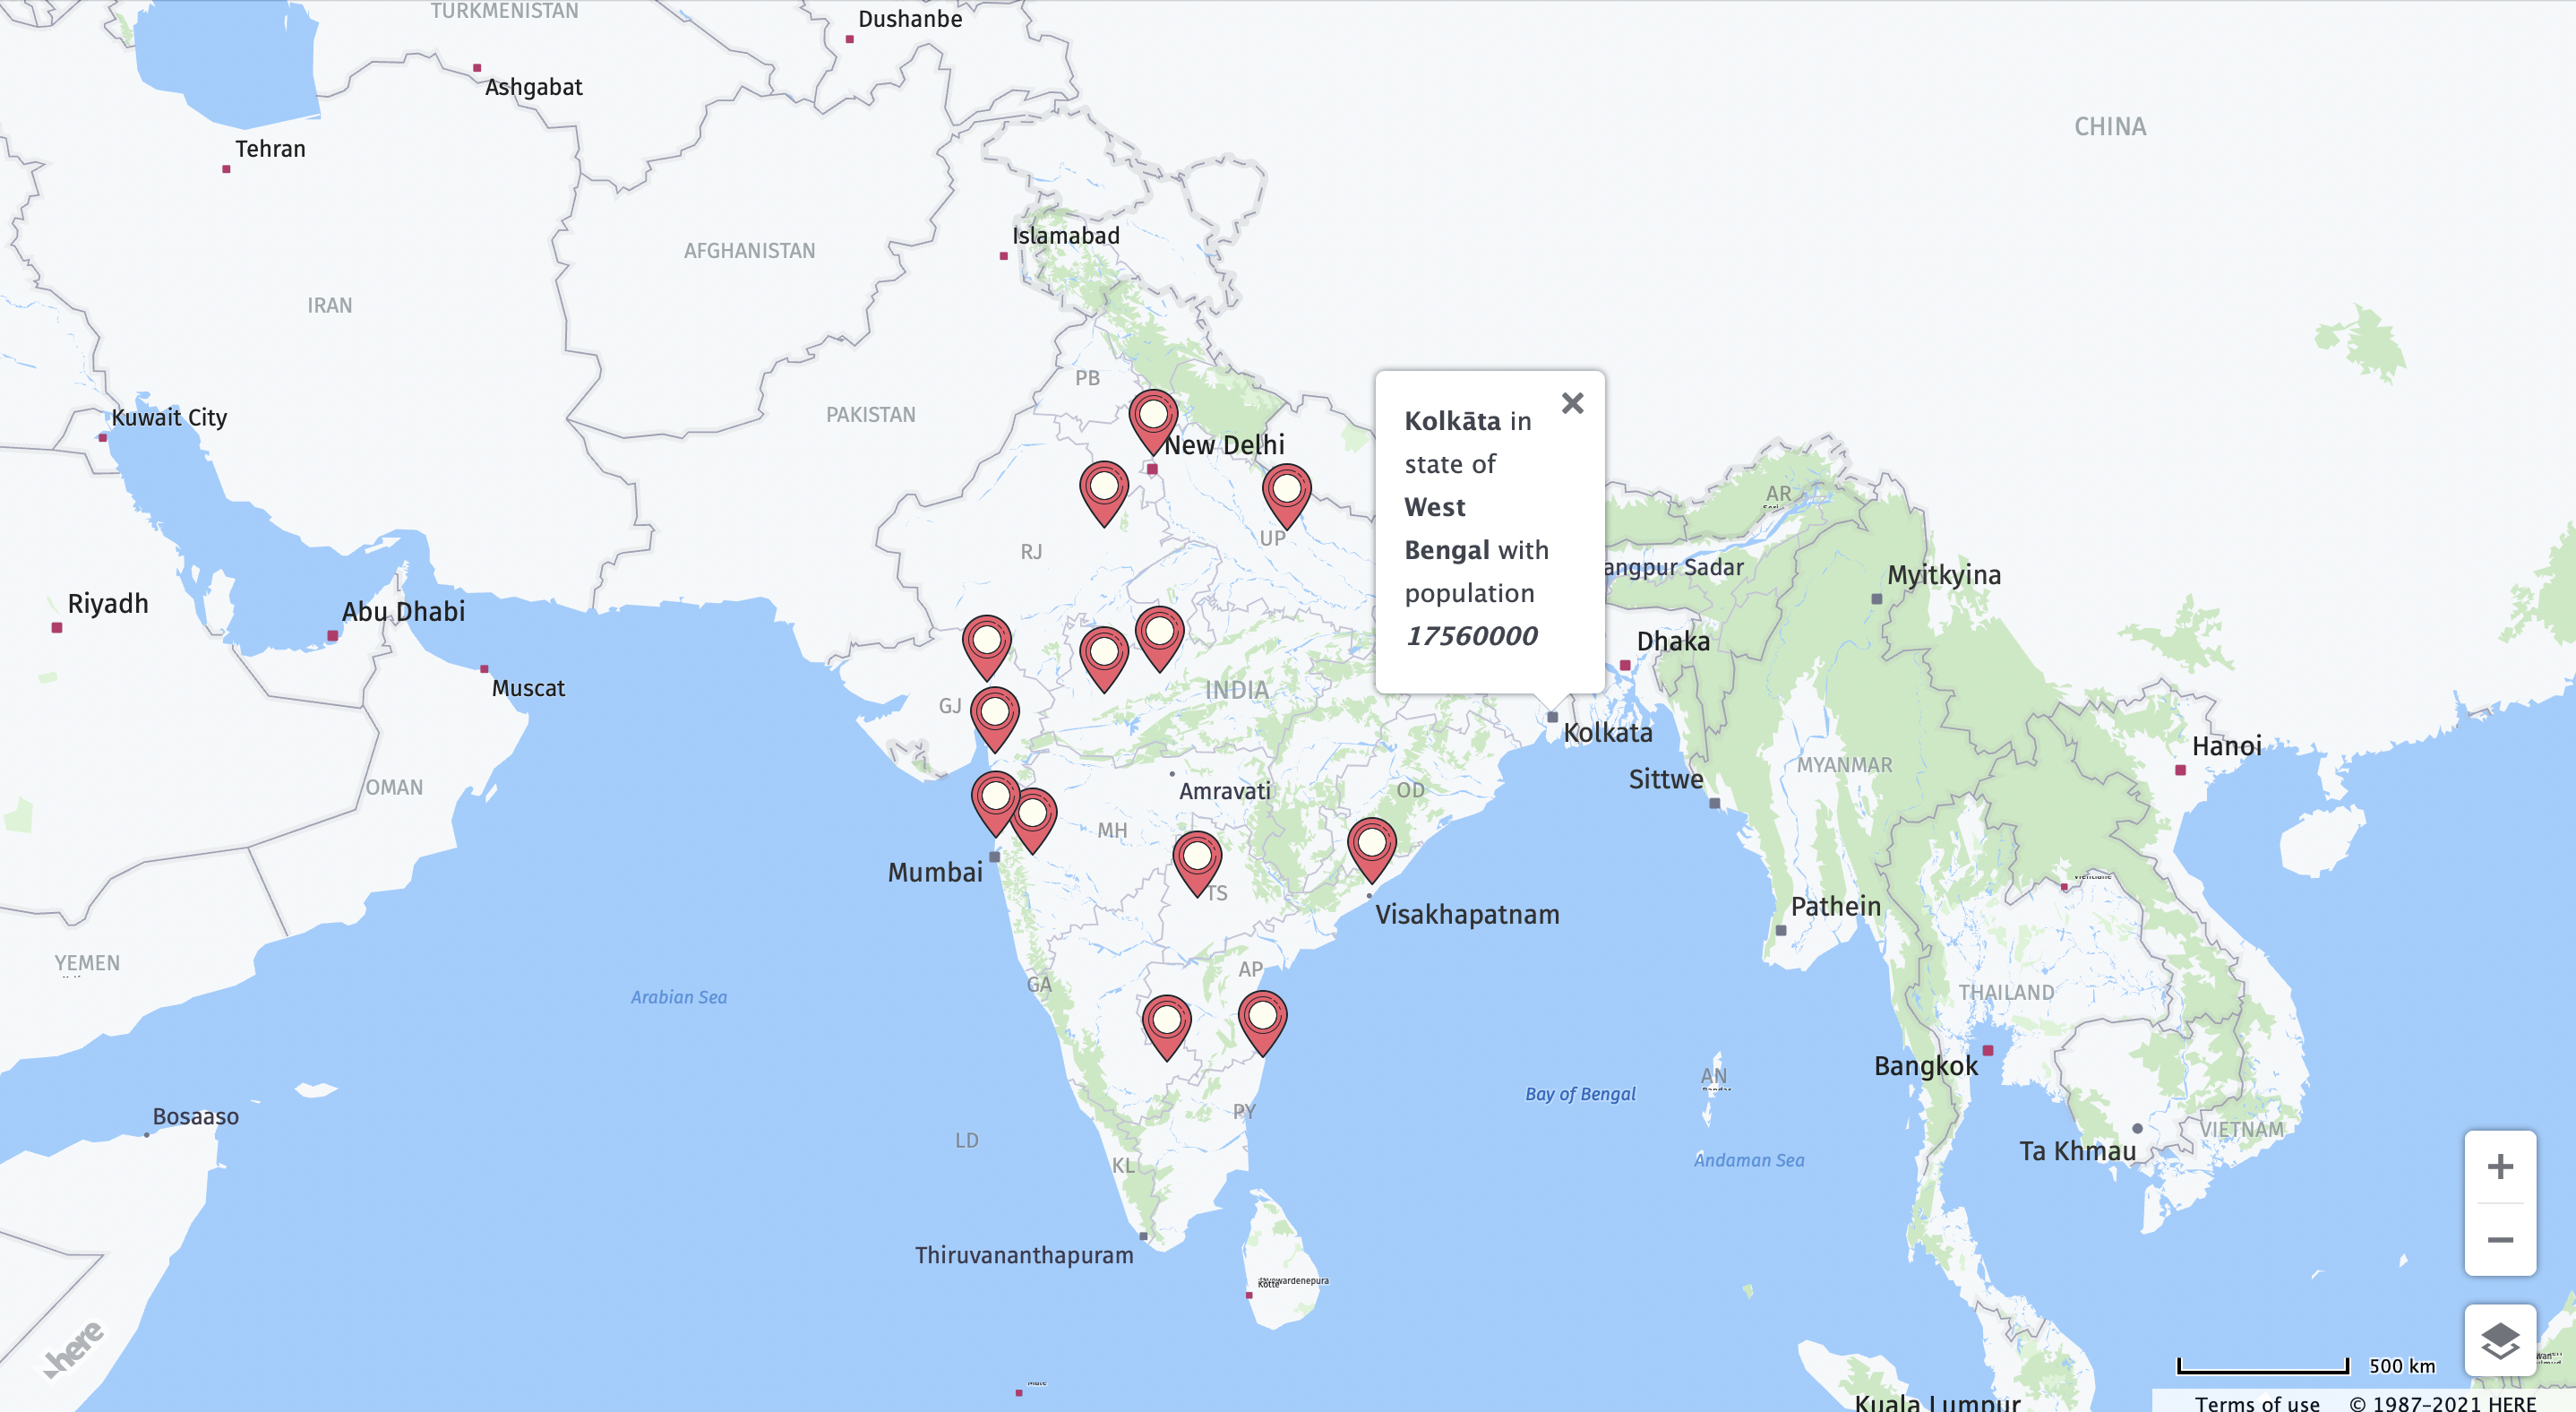
Below is a screenshot of what we are going to build and if you want you can visit the deployed version here as well
We will need the Rest API Key from Here Maps to integrate it. Account creation is free and unlike Google Maps API, it doesn't require a credit card to signup. You can follow the detailed instruction to generate your own API key on their portal at Getting Here Credentials
Implementation
So, I am using vanilla javascript for this so the setup just includes an index.html, style.css, and the script.js file. Let us first write the content of the Html & CSS page so that we can get the map in full screen
<!DOCTYPE html>
<html lang="en">

<head>
    <meta charset="UTF-8" />
    <meta http-equiv="X-UA-Compatible" content="IE=edge" />
    <meta name="viewport" content="width=device-width, initial-scale=1.0" />
    <link href="https://fonts.googleapis.com/css?family=Germania+One:regular" rel="stylesheet" />
    <link rel="stylesheet" href="./style.css" />
    <link rel="stylesheet" type="text/css" href="https://js.api.here.com/v3/3.1/mapsjs-ui.css" />
    <script type="text/javascript" src="https://js.api.here.com/v3/3.1/mapsjs-core.js"></script>
    <script type="text/javascript" src="https://js.api.here.com/v3/3.1/mapsjs-service.js"></script>
    <script type="text/javascript" src="https://js.api.here.com/v3/3.1/mapsjs-ui.js"></script>
    <script type="text/javascript" src="https://js.api.here.com/v3/3.1/mapsjs-mapevents.js"></script>
    <title>Here Maps</title>
</head>

<body>
    <section id="map"></section>
    <script src="./script.js"></script>
</body>

</html>
As you can see that we need to refer to four JS files and one CSS file for integrating Here Maps onto our application. Make sure to have these links included in your project
For styling, I have done just some basic styling to set the map section width to the full screen.
body {
  padding: 0;
  margin: 0;
  box-sizing: border-box;
}

#map {
  width: 100%;
  height: 100vh;
}
Now, for my dataset, I used some of the Indian city's data on Simplemaps. You can download the dummy data set for this implementation in JSON format there. The data is in the following form
{
            "city": "Delhi",
            "lat": "28.6600",
            "lng": "77.2300",
            "country": "India",
            "iso2": "IN",
            "admin_name": "Delhi",
            "capital": "admin",
            "population": "29617000",
            "population_proper": "16753235"
}
We can then add the bare minimum code required to show the maps on our page. We are going to get our HTML section map and tell Here to show the map in its place. The below code will be enough to start showing the map.
const restApiKey = 'YOUR_REST_API_KEY';
var platform = new H.service.Platform({
    apikey: restApiKey
});
var defaultLayers = platform.createDefaultLayers();

var map = new H.Map(document.getElementById('map'),
    defaultLayers.vector.normal.map, {
    center: { lat: 50, lng: 5 },
    zoom: 8,
    pixelRatio: window.devicePixelRatio || 1
});
var behavior = new H.mapevents.Behavior(new H.mapevents.MapEvents(map));
var ui = H.ui.UI.createDefault(map, defaultLayers);
Now since we are having the dataset of India, when the page load we should set the default map location to be India else it will open at some other random place
window.onload = function () {
    map.setCenter({ lat: 21.1542958128079, lng: 79.0768131453202 });
    map.setZoom(5);
}
The coordinates provided are of Nagpur city, which is roughly the center point of India. I did hit and try to find the best value of the zoom object so that the map of the entire country was clearly visible. If you set this at a higher value it would be more zoomed into Nagpur
I have the data that has to be plotted on the map in a variable called markerData. By default Here maps show an ugly-looking green bubble as the marker. But thankfully we can use any custom image as a marker and even specify its size as well.
var icon = new H.map.Icon('./icons.png', {
    size: {
        w: 50,
        h: 50
    }
});
You can use any image and provide its path as the first parameter to the Icon object on the map. The second parameter expects and optional options which can be used to set the size of this marker.
Finally let us now loop through our dataset and for each record, place a marker on the screen and create an info bubble which will be shown on the click event of the marker.
markerData.forEach(x => {
    var marker = new H.map.Marker({ lat: x.lat, lng: x.lng }, {
        icon: icon,
    });

    //the info bubble content that will shown on tap event
    let html = `<div><b>${x.city}</b> in state of <b>${x.admin_name}</b> with population <b><i>${x.population}</b></i></div>`
    marker.setData(html);

    //create the info button at the same location as the marker and assign the content as html
    const infoBubble = new H.ui.InfoBubble({ lat: x.lat, lng: x.lng }, {
        content: html
    });

    //add the tap event on the marker to add the bubble to the UI, for removing by default close option is there on the bubble
    marker.addEventListener('tap', (evt) => {
        ui.addBubble(infoBubble);
    }
    );

    //finally add the object to map
    map.addObject(marker);
});
We create a new Marker and specify its coordinates and icon image in it. We then create a variable to store the information which we want to associate with each marker. Here we just frame a sentence to show the city & state name along with the population of the city
Now we need to create a new InfoBubble object. This object requires the location & the content that needs to be shown. We set the location the same as the location of the marker as we want it to show over it once we click on it. We can then assign the HTML created above to the content variable.
There are multiple events exposed on the map object, but for this case, we are going to use the Tap event which is like the normal click event. Inside the callback of the event listener, we just call the addBubble function available on the UI object and pass it the infoBubble created before. InfoBubble by default has a close button at the top right corner so we don't need to handle its removal from the javascript side.
In case you want to open and hide it automatically then, you can use the pointerenter and pointerleave events and use the removeBubble function to remove it from the dom once the pointer leaves the marker. The last thing left is to add the marker object to the map.
Conclusion
That's it, we have completed the integration of Here Maps in our project. There are tons of more capabilities that are exposed by HereMaps and you can refer to the official documentation to know the details regarding the same.
I hope you found this article useful, till next time keep learning & keep building 🚀⚡️


