Setting up VS Code for Developing Asp.Net Core Web API

VS Code is one of the most versatile and lightweight code editors out there and today in this blog post we will set how we can set up VS Code to create Asp.Net Core based Web APIs. We will see how to create a new solution, and projects, add Nuget packages and run unit tests as well.
Pre-requisite
Make sure that the DotNet SDK along with DotNet CLI is installed on the machine along with the VS Code editor. We will be leveraging the terminal for creating and running our solutions hence CLI is an integral requirement here.
Visual Studio Code Setup
Open VS Code and add any empty folder to the workspace. Once added, right-click on the folder name and select Open in Integrated Terminal
Create a New Solution
The first step is to create a new empty solution named stackup_vsc_setup using the following command in the terminal.
dotnet new sln --name stackup_vsc_setup
Create a New WebAPI Project
A new project can be created using the template command dotnet new <Project Template>. To know the codes for the popular project templates available you can visit the link here
dotnet new webapi --name Stackup.Api
This will create a new project but if we go to the solution file, we can see that the newly created project is not automatically part of the solution. Let us now add the project to the solution we created earlier. Make sure that the terminal is still pointing to the solution folder.
dotnet sln add .\Stackup.Api\Stackup.Api.csproj
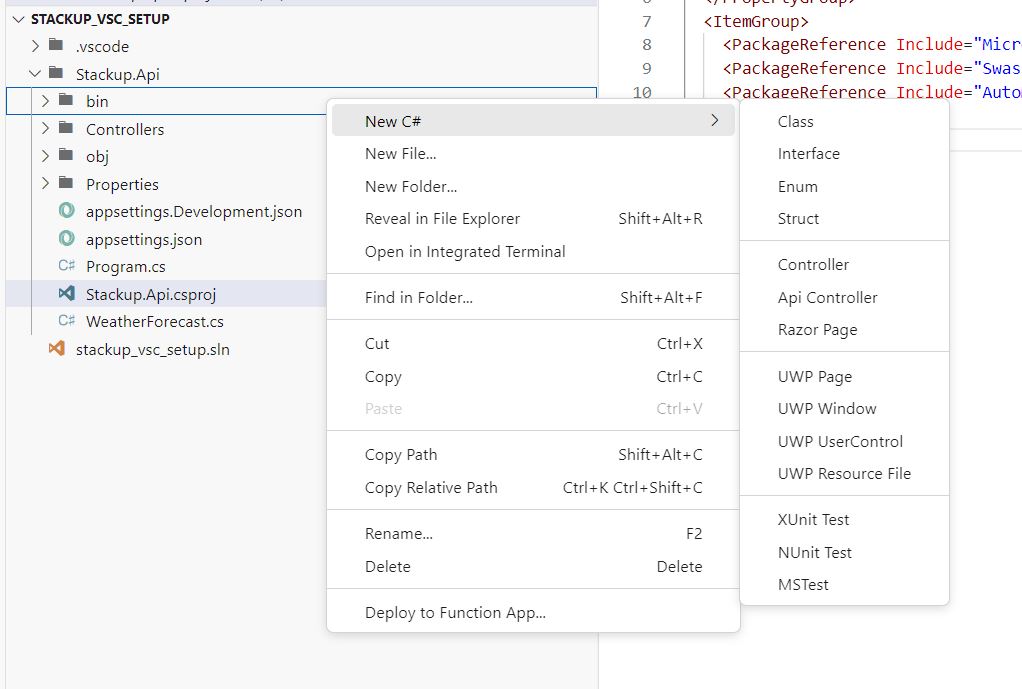
If we now move to the WeatherForecast.cs file we see a prompt in the bottom right corner of VS Code to install the recommended extension for C#. Go ahead and click install. This will install C# extension responsible for running dotnet core projects
Build and Debug
Move the terminal into the project directory using the command
cd Stackup.APIRun the command
dotnet buildOnce successfully run the command,
dotnet run
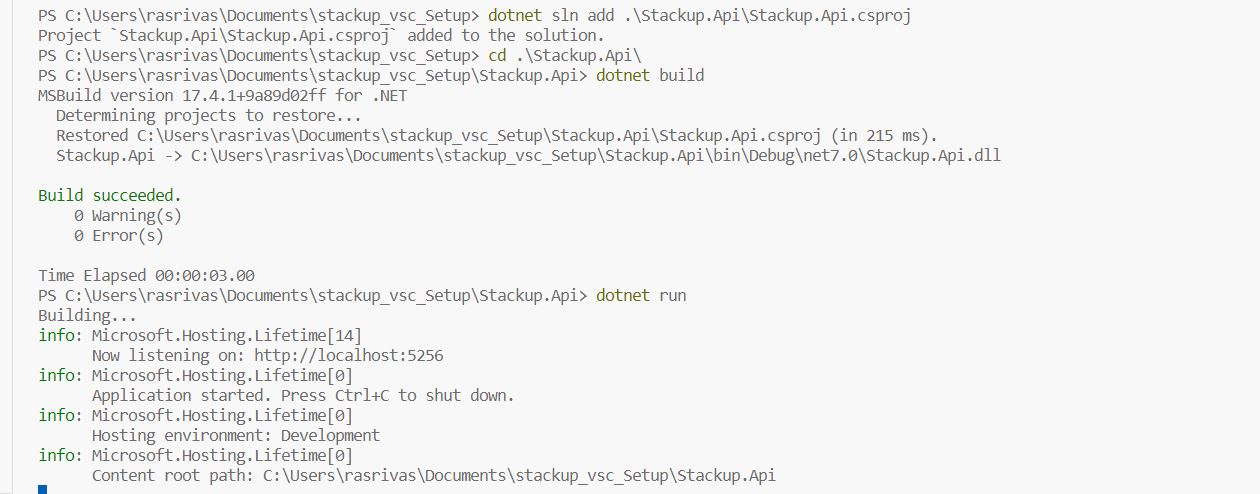
This should run the project and provide the URL on which the app is running and once we open it we should see the running application
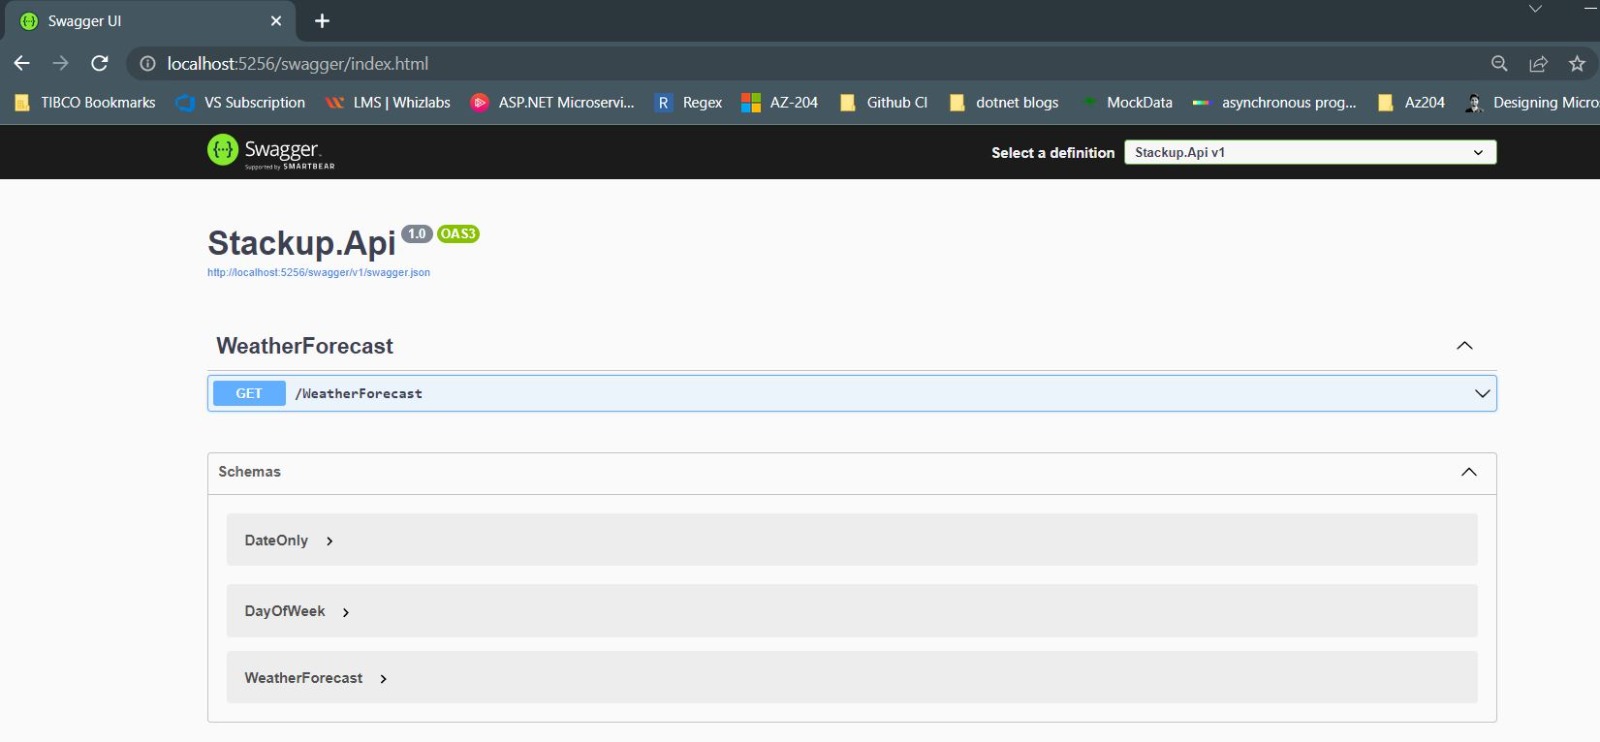
As now the project is up and running, you can also leverage the VS Code Rest Client extension to make HTTP calls right from inside the editor itself. I have already written a detailed post on how to set up and use that so you can follow it here.
Nuget Management
One of the most important features of Visual Studio is the Nuget Package manager which allows us to manage the various NuGet packages integrated into the code. There are multiple extensions to do something similar in VSCode as well and we will be using NuGet Package Manager for this demo.
Once the extension is installed to VS Code, it can be used by following the steps below.
Open the command window using
Cmd + Shift + PStart typing Nuget and select the filtered command
Nuget Package Manager - Add PackageSelect the Project and press enter
Type the name of the NuGet package to search and press enter
Select the NuGet package to be installed from the list and press enter
Select the version to install and press enter
The package will be installed and a pop to restore the dependency is shown. You can either click on Restore or run the dotnet restore command in the terminal

Must have VS Code Extensions
There are some other useful extensions for C# development which will make your work easier and we will look into 5 of them here.
Auto-Using for C# => Automatically import references from various namespaces with the help of this
C# Extensions => Build classes, interfaces, structs, controllers, enums, API controllers, Razor pages, and many other types of code, as well as initialise constructors
- .NET Core Tools => Add options to run and build projects directly

.NET Core Test Explorer => Run and debug Unit Tests in VS Code
Material icon theme => Add icons to folders and other C# code files
Unit Tests
The .NET Core Test Explorer extension mentioned above helps run all types of Unit Test-based projects directly inside the VS Code.
Recommendation: Unit Tests in ASP.Net Core with NUnit and Moq
Let us quickly create a new test project and add it to the solution using the below commands
dotnet new nunit -n Stackup.Api.Test
dotnet dotnet sln add .\Stackup.Api.Test\Stackup.Api.Test.csproj
Let us now add the reference of the main project in the test project using the below command. Make sure to move into the test project directory to add the reference as it adds the reference to the project in scope
cd .\Stackup.Api.Test\
dotnet add reference ..\Stackup.Api\Stackup.Api.csproj
To make our default weatherforecast controller testable let's just modify the code a bit to move the default logic to a WeatherService.
New Interface IWeatherService
namespace Stackup.Api.Service
{
    public interface IWeatherService
    {
        public IEnumerable<WeatherForecast> GetWeather();
    }
}
New Class WeatherService
namespace Stackup.Api.Service
{
    public class WeatherService : IWeatherService
    {
        private static readonly string[] Summaries = new[]
    {
        "Freezing", "Bracing", "Chilly", "Cool", "Mild", "Warm", "Balmy", "Hot", "Sweltering", "Scorching"
    };
        public IEnumerable<WeatherForecast> GetWeather()
        {
            return Enumerable.Range(1, 5).Select(index => new WeatherForecast
            {
                Date = DateOnly.FromDateTime(DateTime.Now.AddDays(index)),
                TemperatureC = Random.Shared.Next(-20, 55),
                Summary = Summaries[Random.Shared.Next(Summaries.Length)]
            })
       .ToArray();
        }
    }
}
The GetWeather method here is just the implementation of the default code of the Controller generated in the project. We are just moving the code from the Controller to a service so that we can test the service.
Updated WeatherController
using Microsoft.AspNetCore.Mvc;
using Stackup.Api.Service;

namespace Stackup.Api.Controllers;

[ApiController]
[Route("[controller]")]
public class WeatherForecastController : ControllerBase
{


    private readonly ILogger<WeatherForecastController> _logger;
    IWeatherService _service;

    public WeatherForecastController(ILogger<WeatherForecastController> logger, IWeatherService service)
    {
        _logger = logger;
        _service = service;
    }

    [HttpGet(Name = "GetWeatherForecast")]
    public IEnumerable<WeatherForecast> Get()
    {
       return  _service.GetWeather();
    }
}
Updated Program.cs
builder.Services.AddSingleton<IWeatherService, WeatherService>();
Now add a new class names WeatherServiceTest in the Test Project and add the following code into it. This is just a basic code to see how we can run tests in VSCode.
public class WeatherServiceTest
{

    IWeatherService serviceToTest;
    [SetUp]

    public void Setup()
    {
        serviceToTest = new WeatherService();
    }

    [Test]
    public void WhenCalled_ReturnWeather()
    {
        var result = serviceToTest.GetWeather();
        int count = result.Count();
        Assert.AreEqual(count,5);
        Assert.Pass();
    }
}
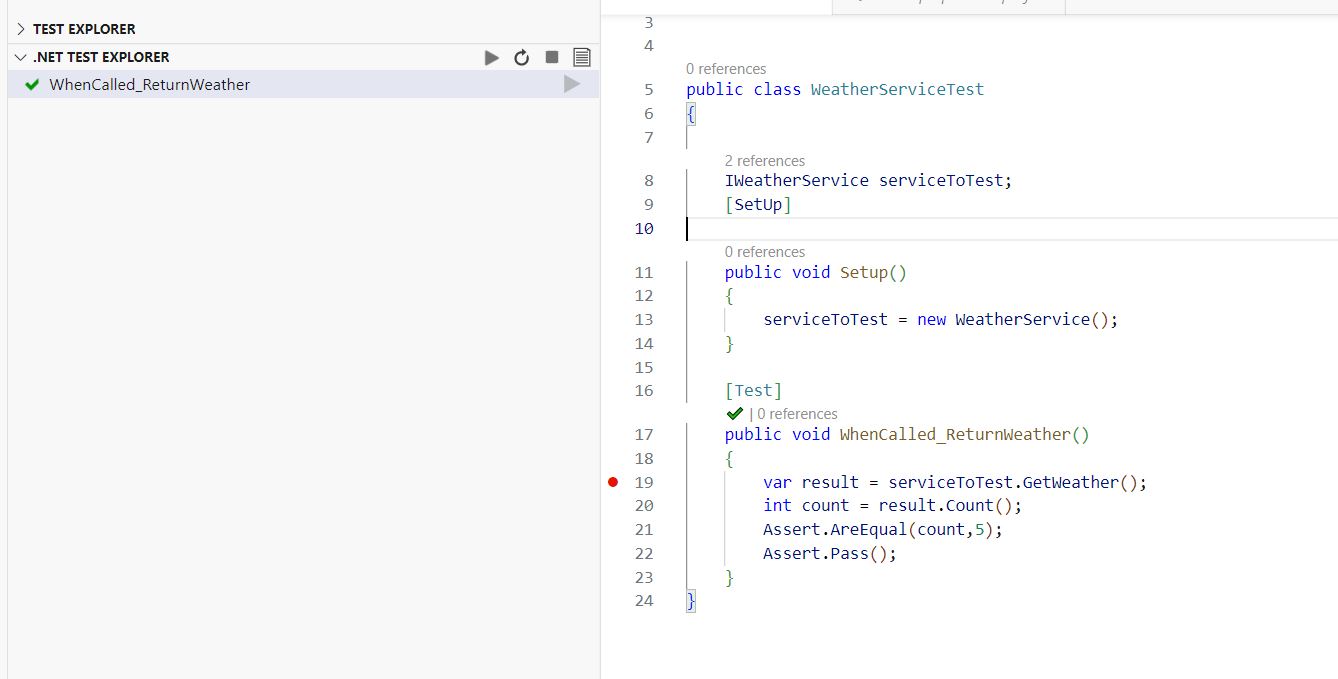
Build the project and then navigate to the Test Explorer tab in the VS Code left side panel and then click on the .Net Test Explorer.
Click on the refresh icon and then the newly created test should appear.
Right-click on the Test name to Run or Debug the test.
Conclusion
I hope that this blog post has helped you in setting up your development environment to get started with building ASP.NET Core Web API projects using Visual Studio Code. Yes, the editor is not a fully integrated IDE and lacks features compared to Visual Studio but it's a quick and lightweight development solution to get things up and running.
Github Link => https://github.com/rajat-srivas/vscode_setup_stackup
Thank you for reading this blog post, and I wish you all the best in your development journey.


